Twinmotion have many attractive material presets, but sometimes I want to express a texture which is not included in them.
We can set texture images in color, reflection, metallicness, bump, and glow in Twinmotion. There are many, and you may be confused as to what to do. But in most cases, if you can use only color and bump among them well, it is enough.
Here is an example of creating your own Twinmotion material, a mosaic tile.
Making Texture Images
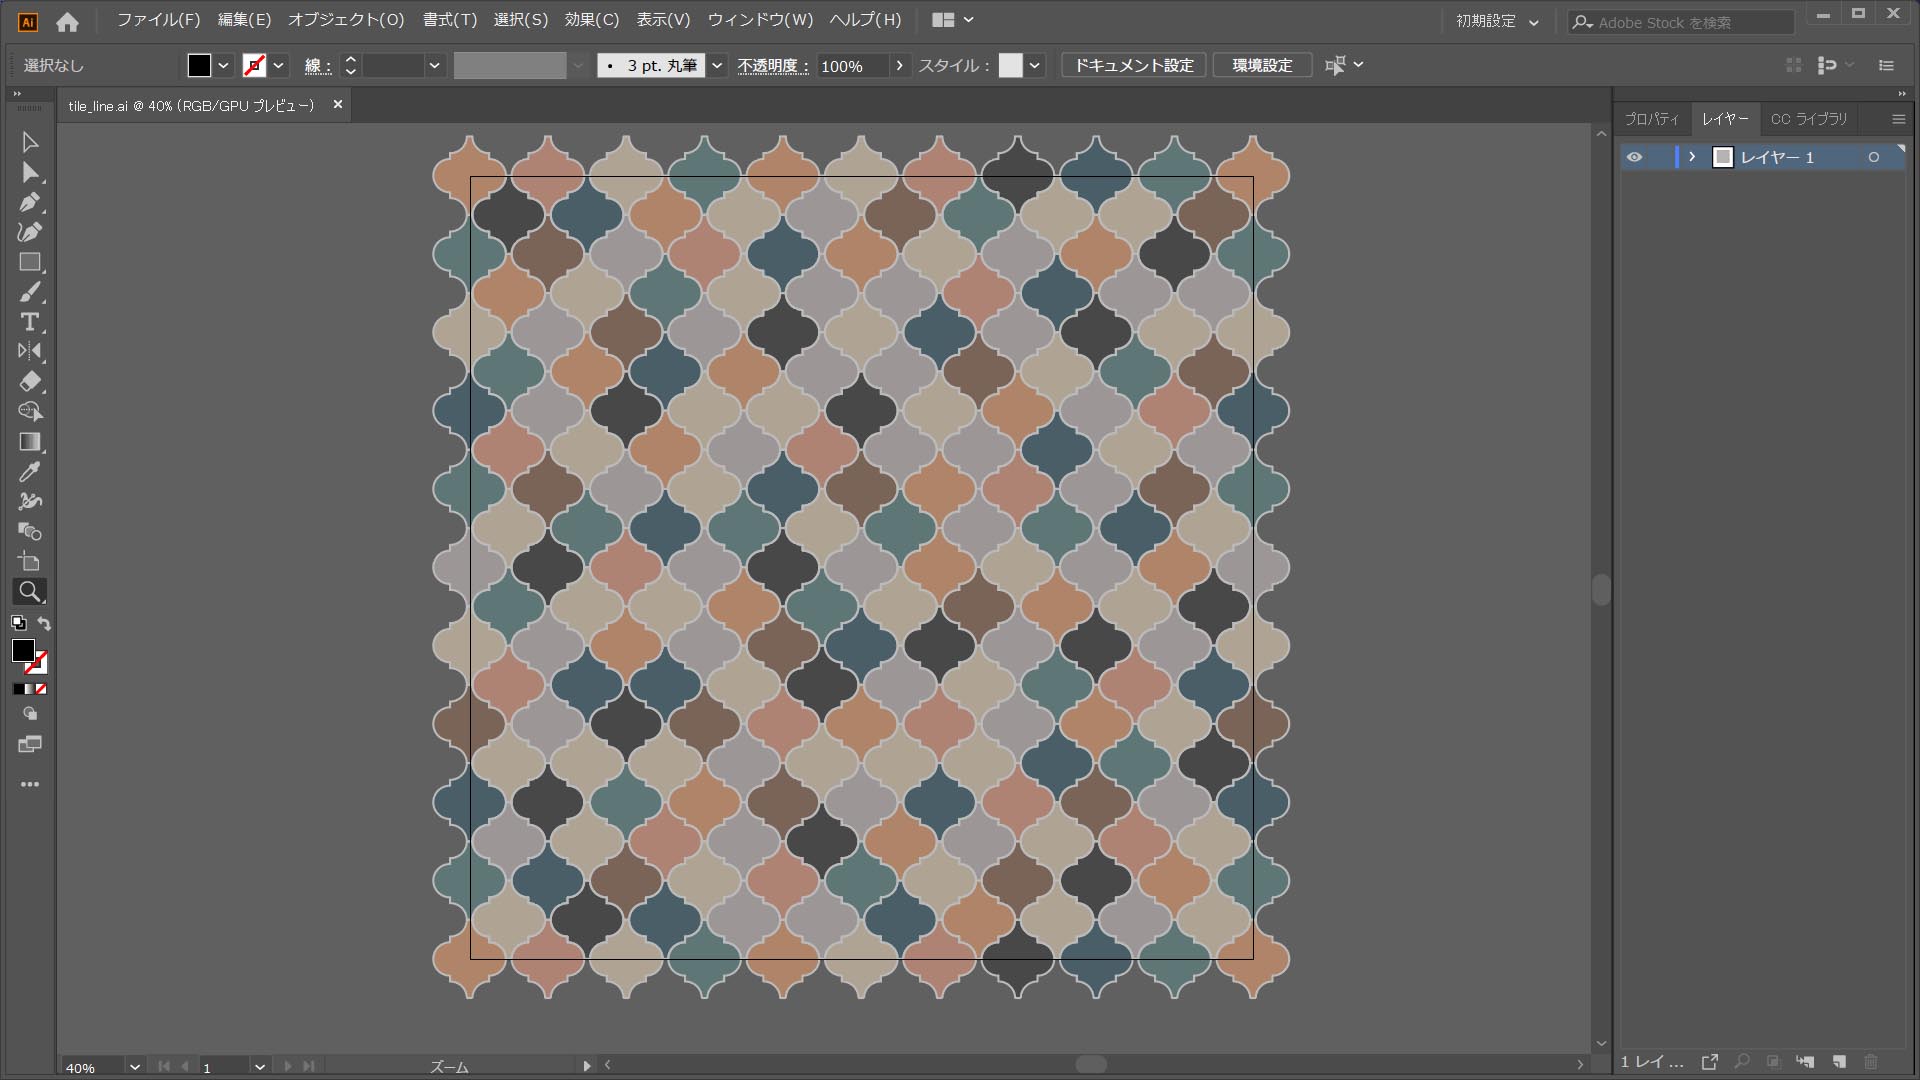
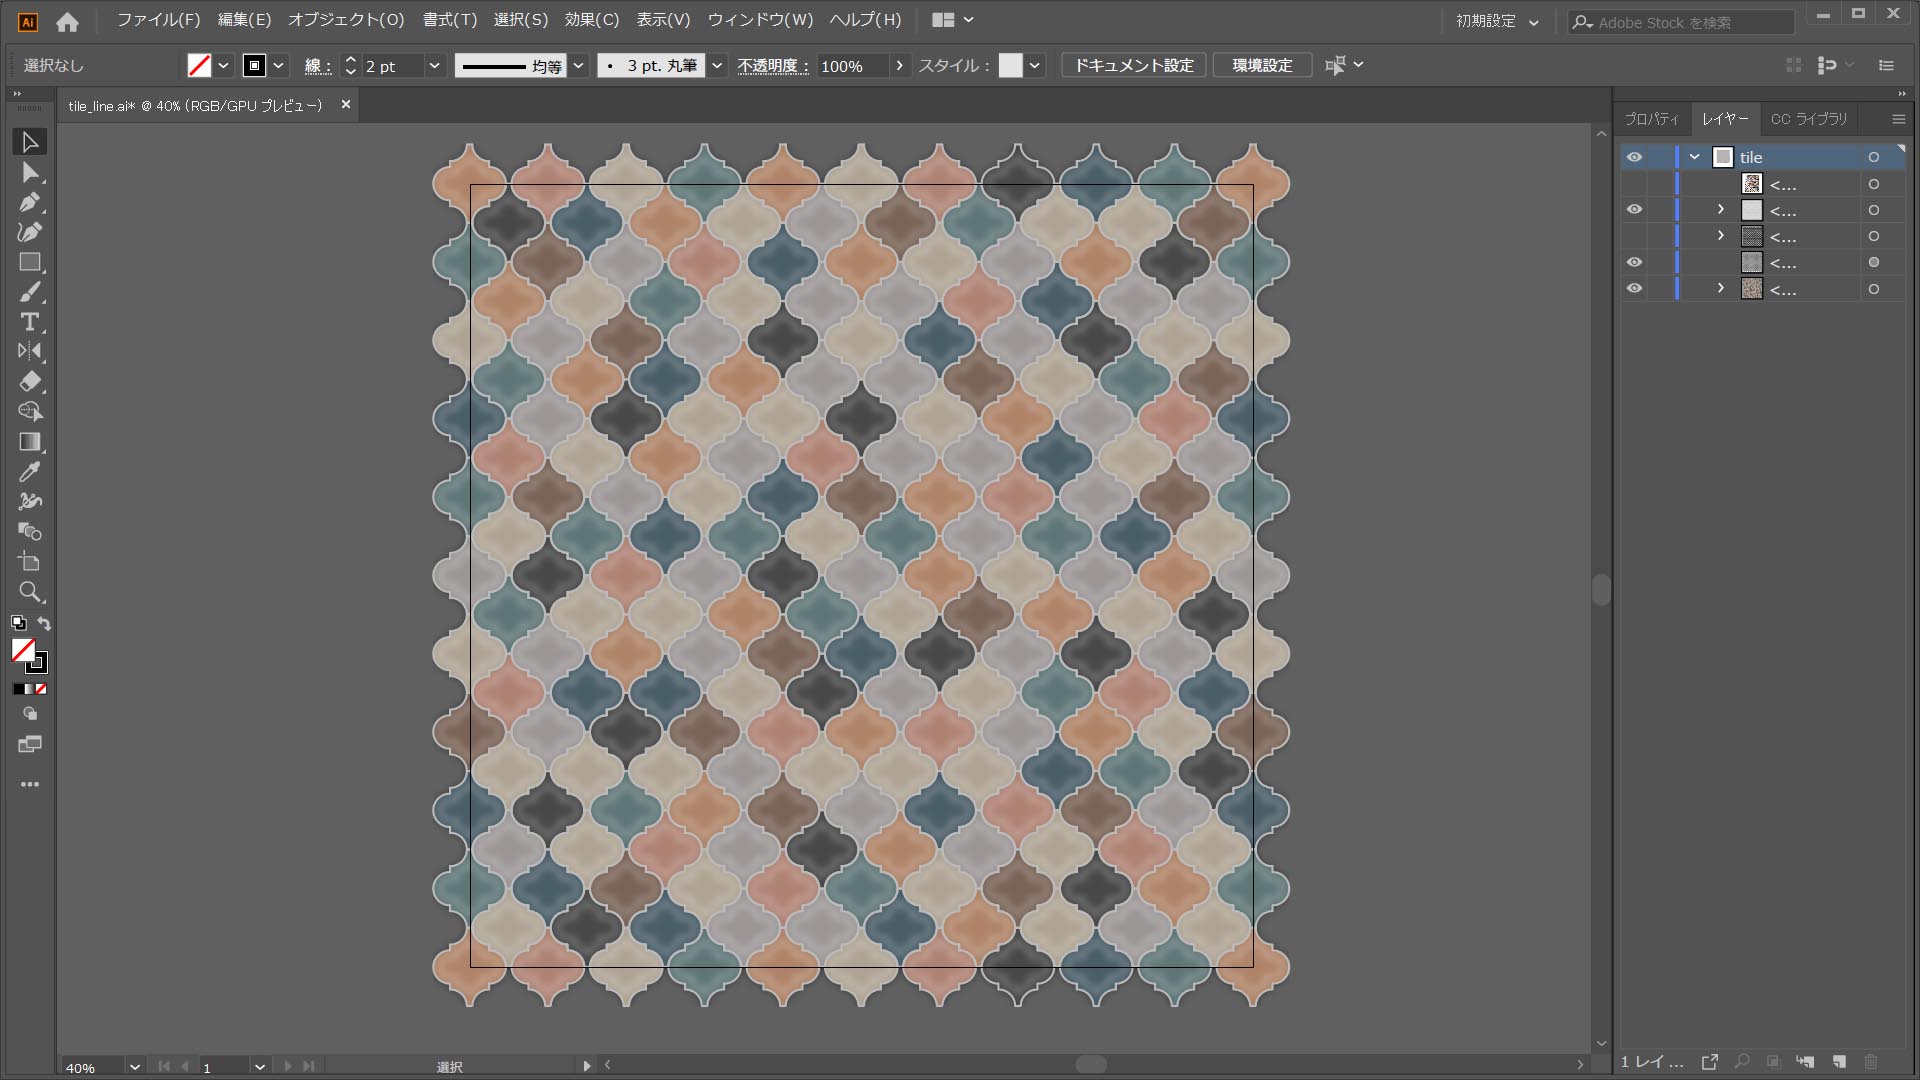
First, using Illustrator, create a texture for the color map for assigning to color item and export it as a png or jpg. In this case, the artboard size is set to 1000 x 1000 pixels.
Next, create a texture for the normal map for assigning to bump item by 1. expressing the unevenness in black and white, and 2. converting it in Photoshop.
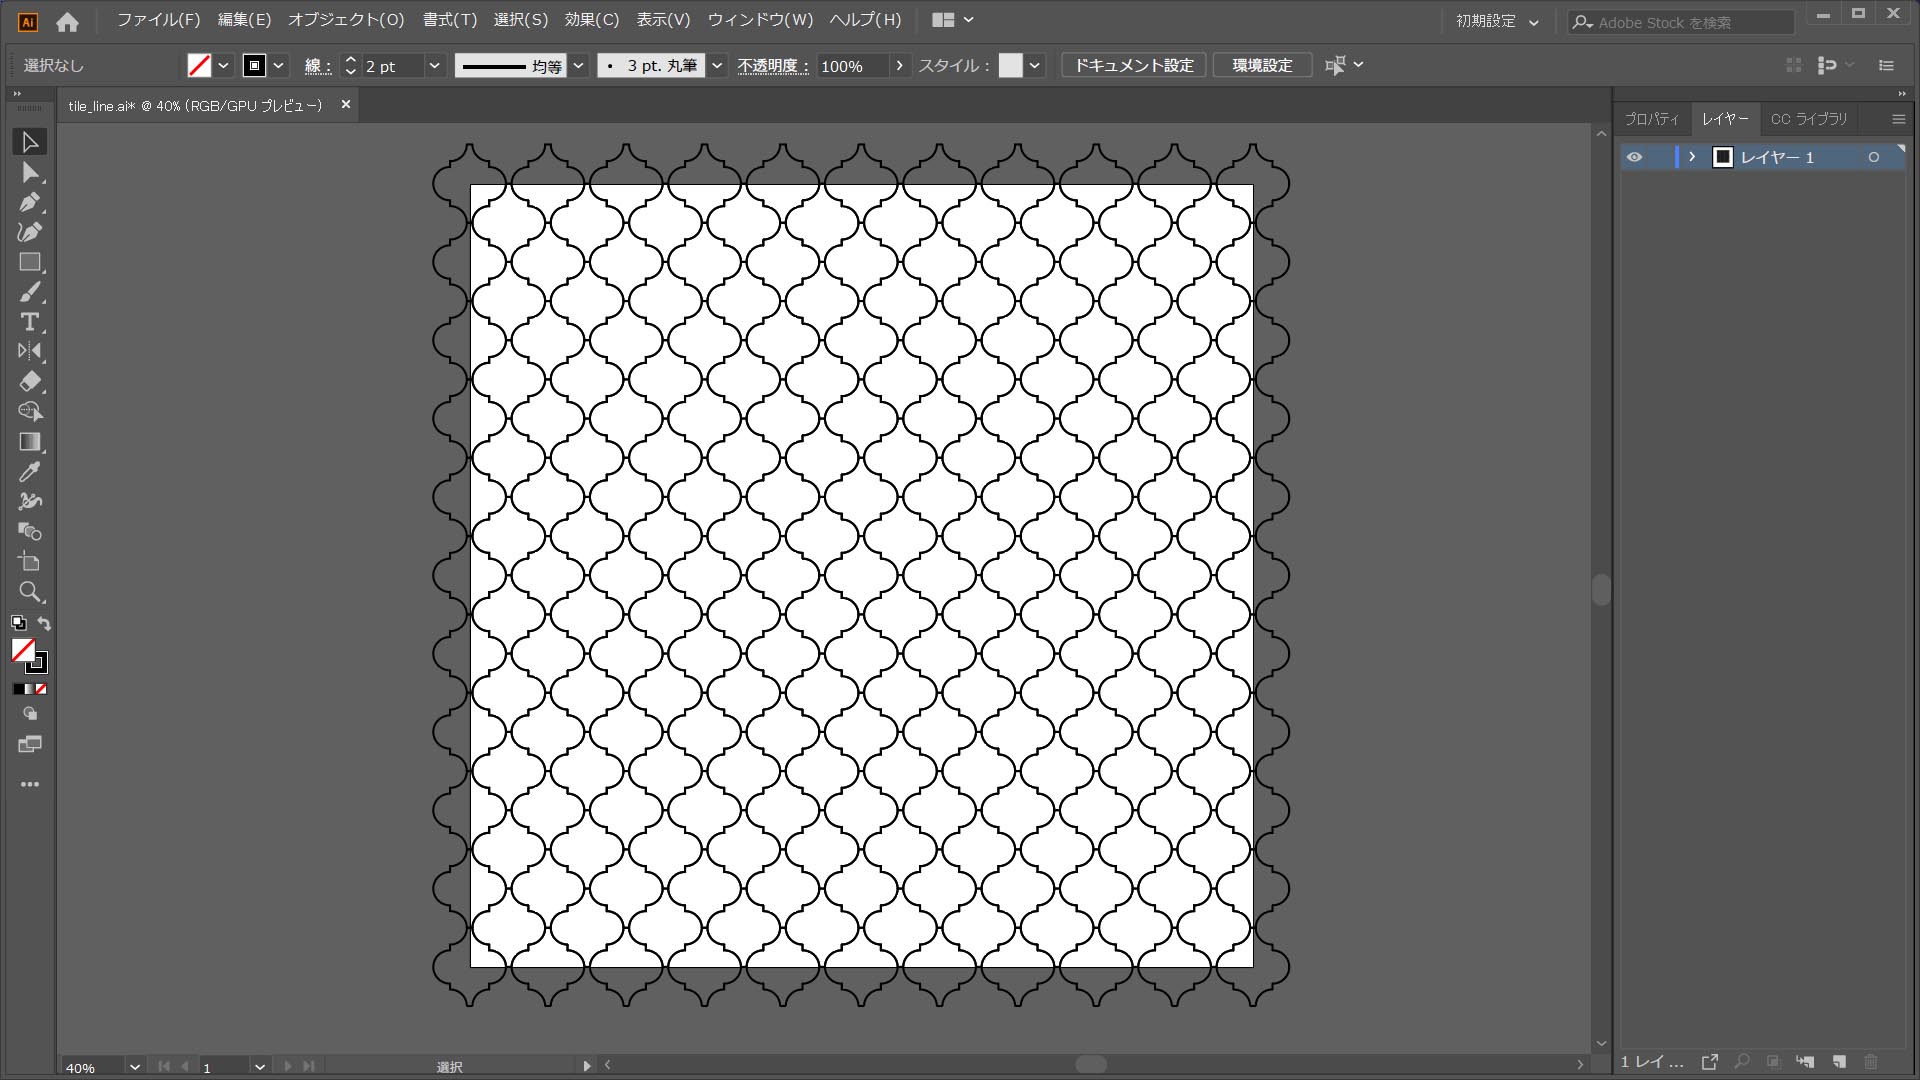
1. Expressing the Unevenness in Black and White
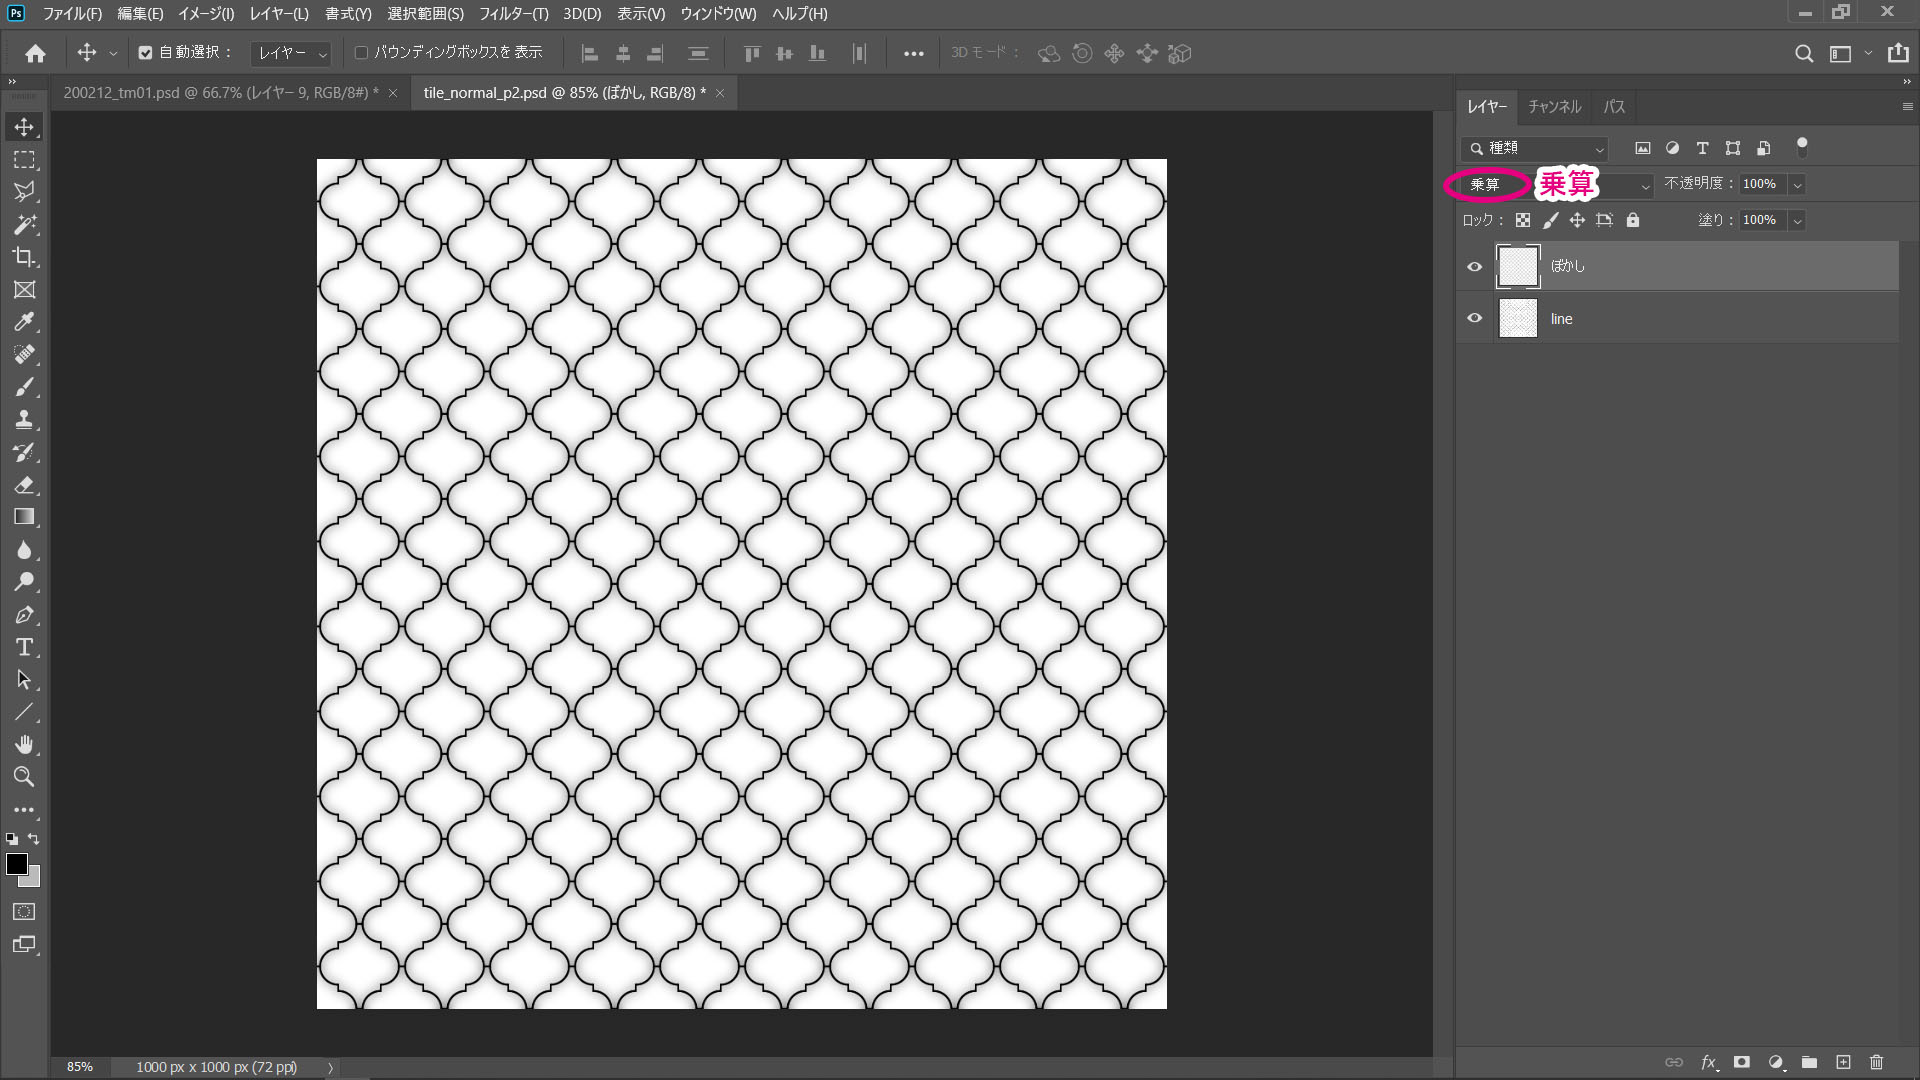
Create a texture so that the protruding areas are white and the retracted areas are black. In this example, we’ll export an image where the tiles are white and the joints are black.
2. Converting in Photoshop
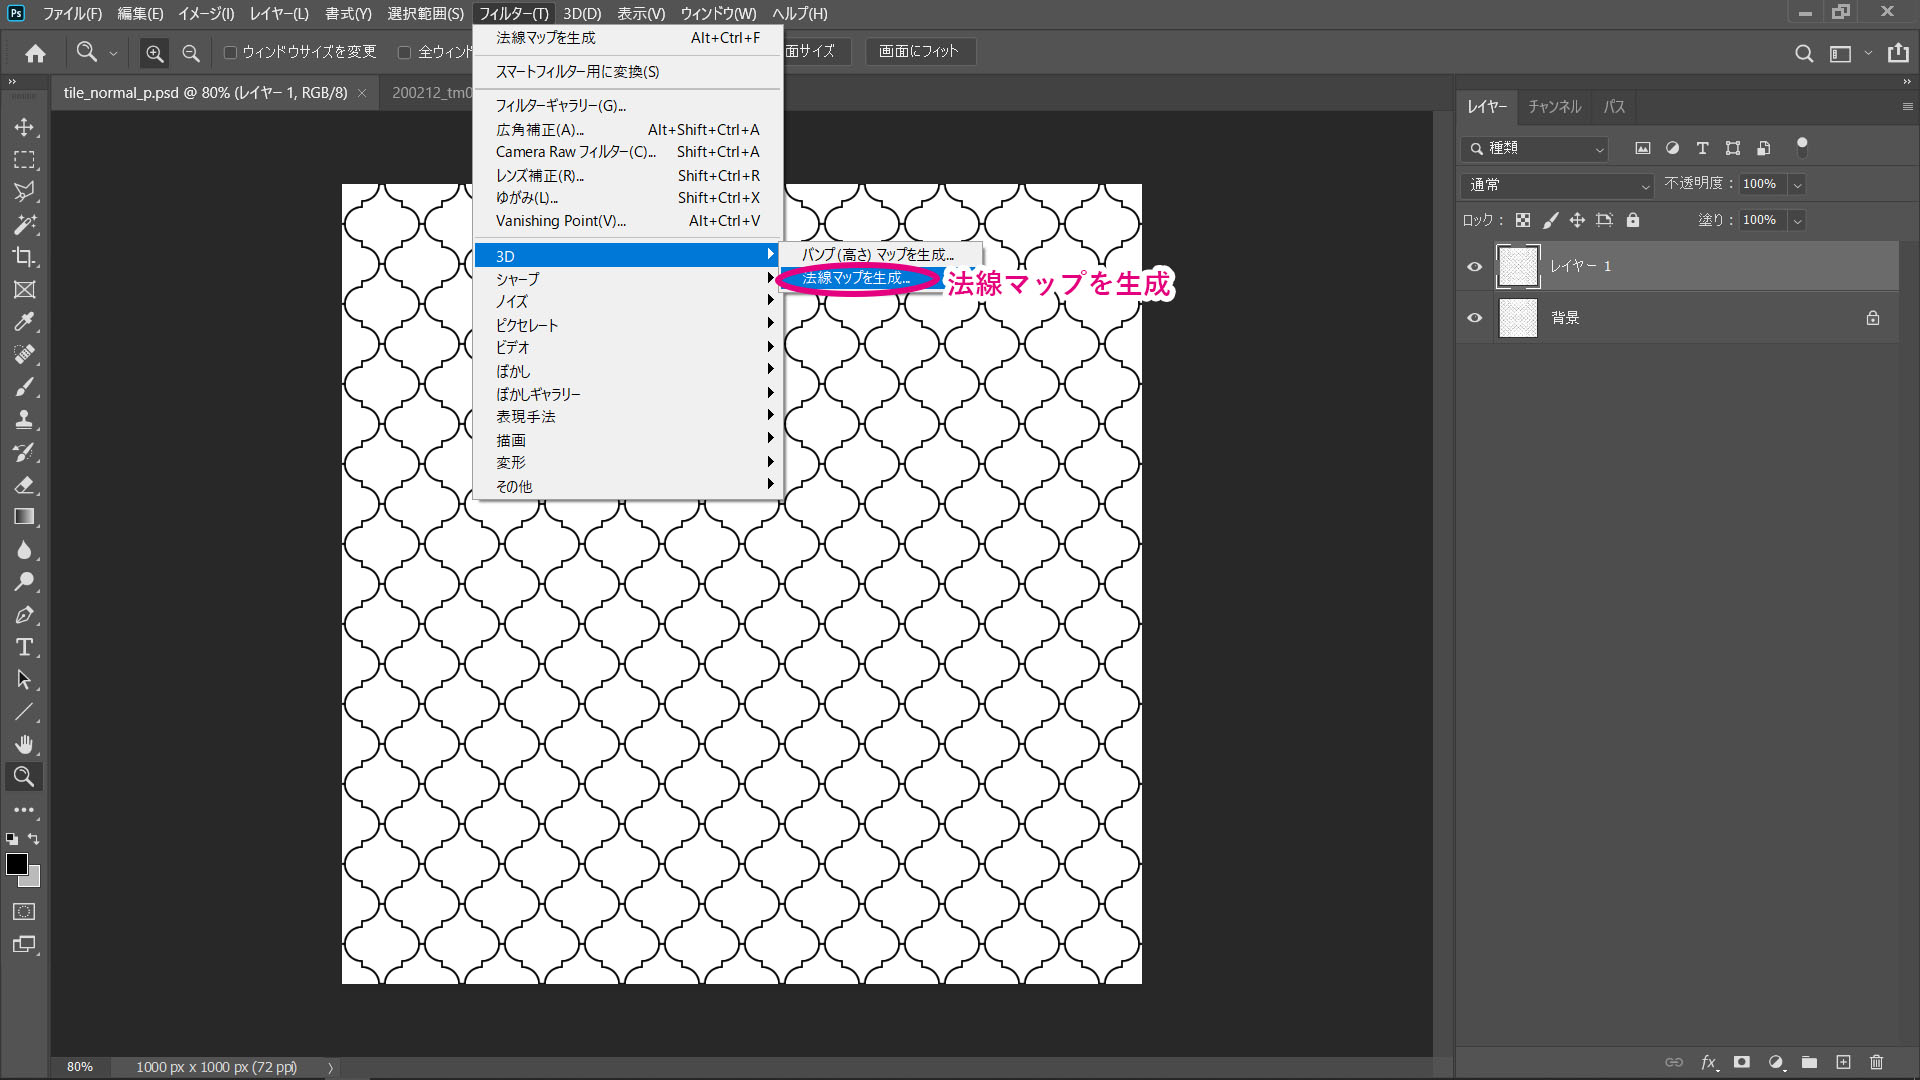
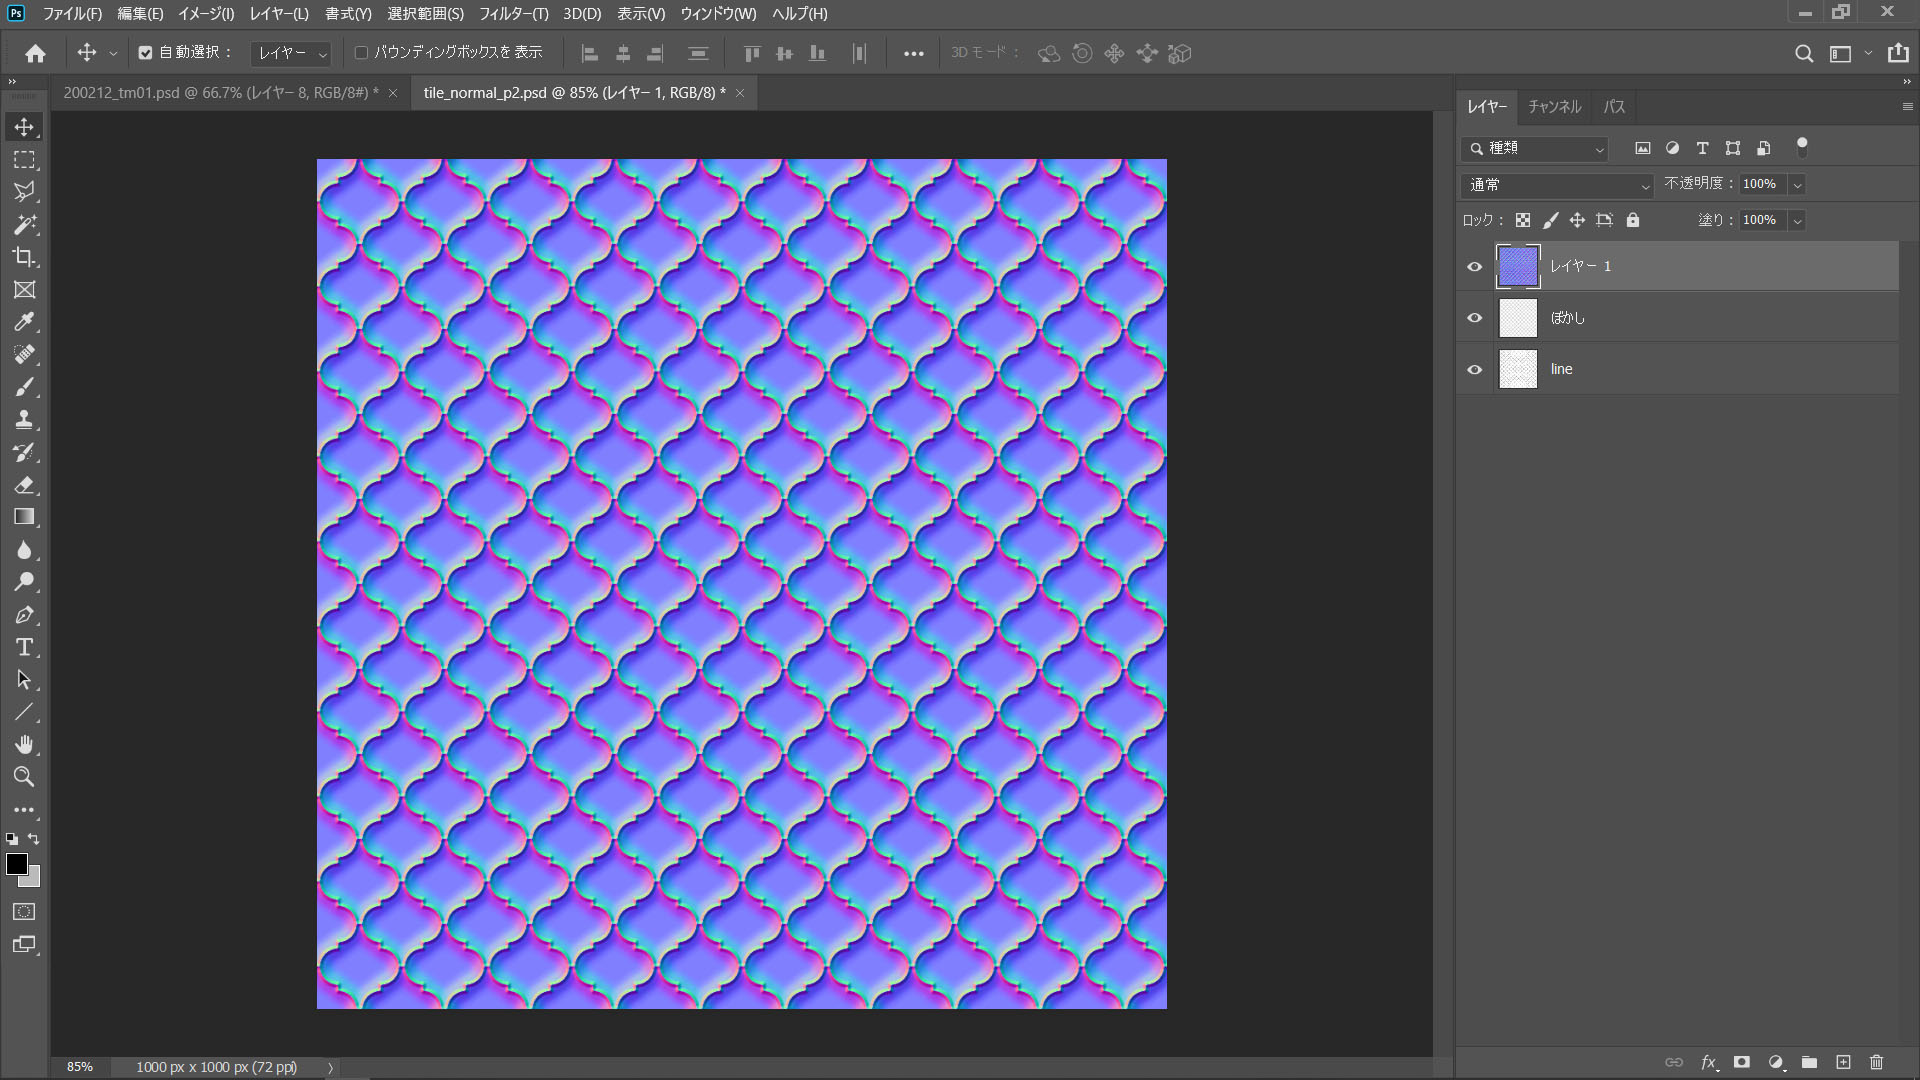
Load in Photoshop and select filter > 3D > generate normal map.
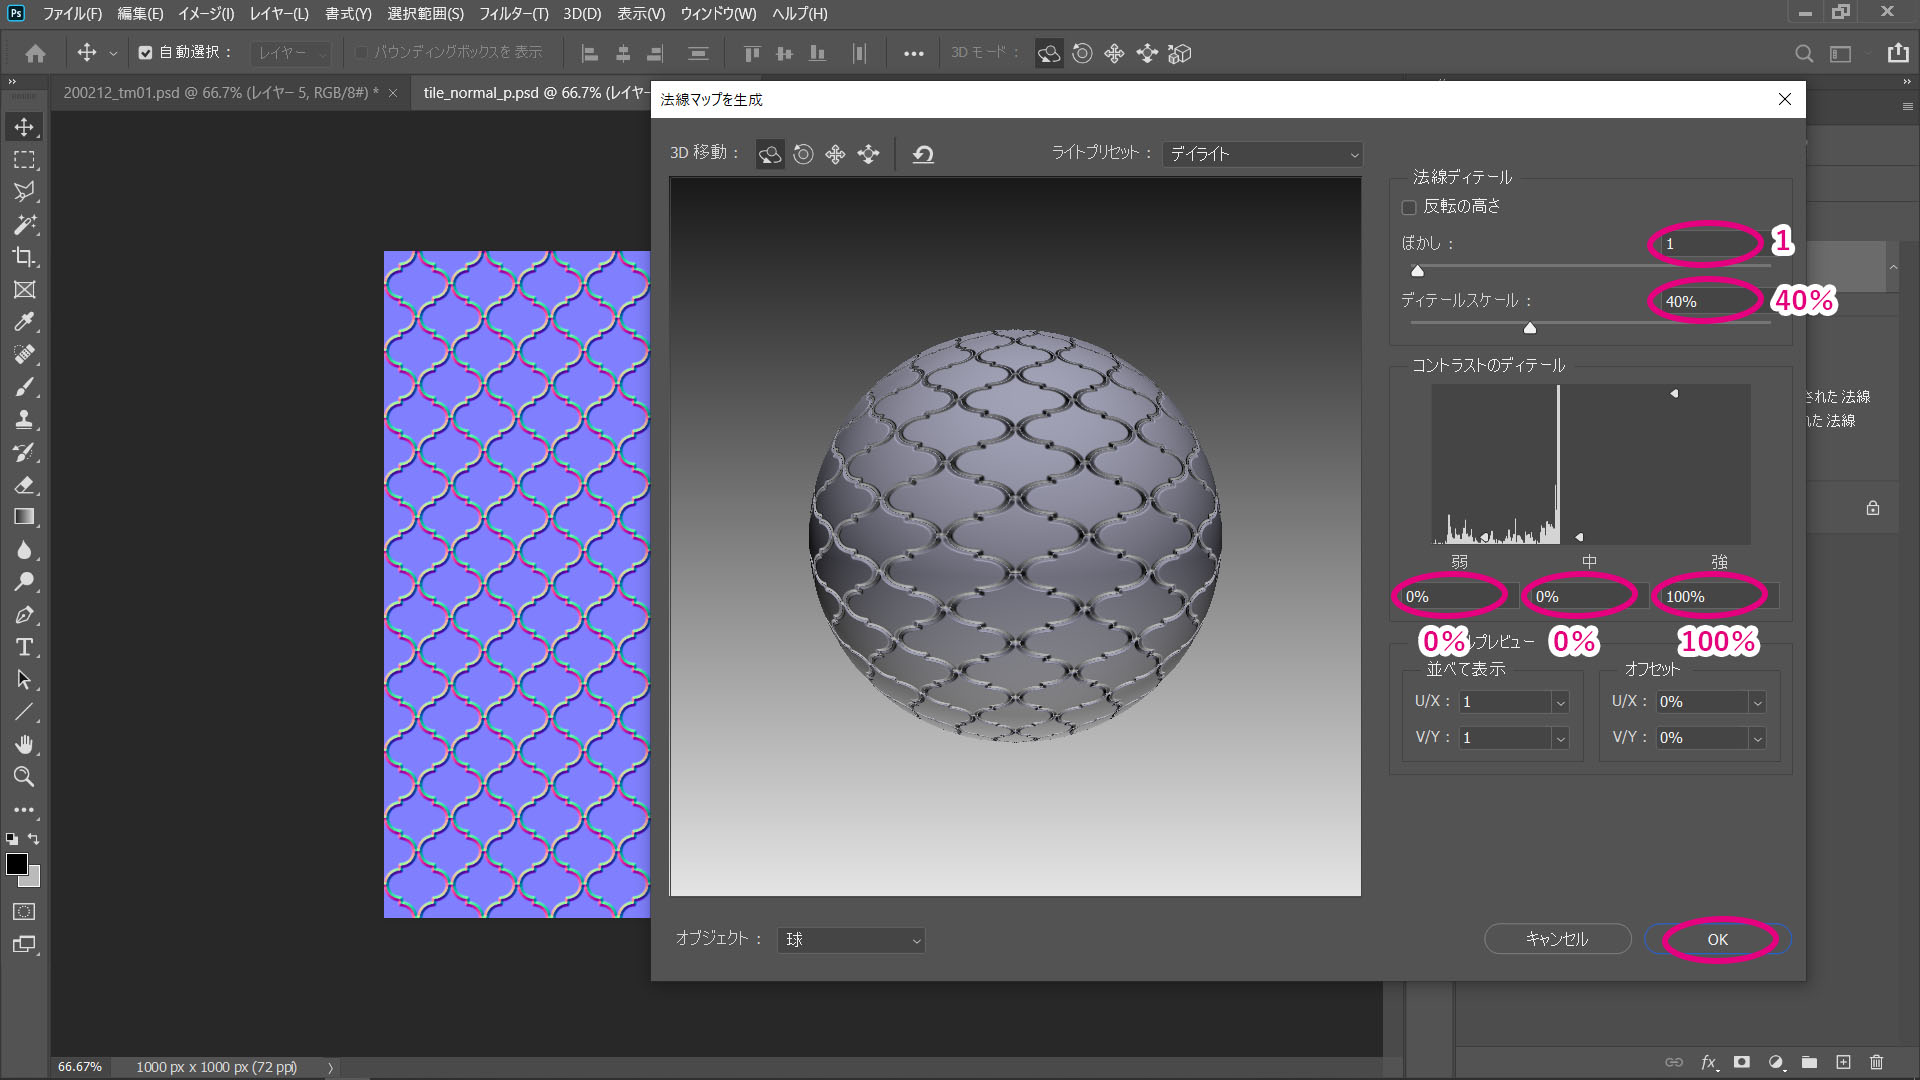
The parameters are at the case may be. In this case we set blur : 1, detail scale : 40%, low : 0%, medium : 0%, high : 100% and OK. Export the generated image as a png or jpg.
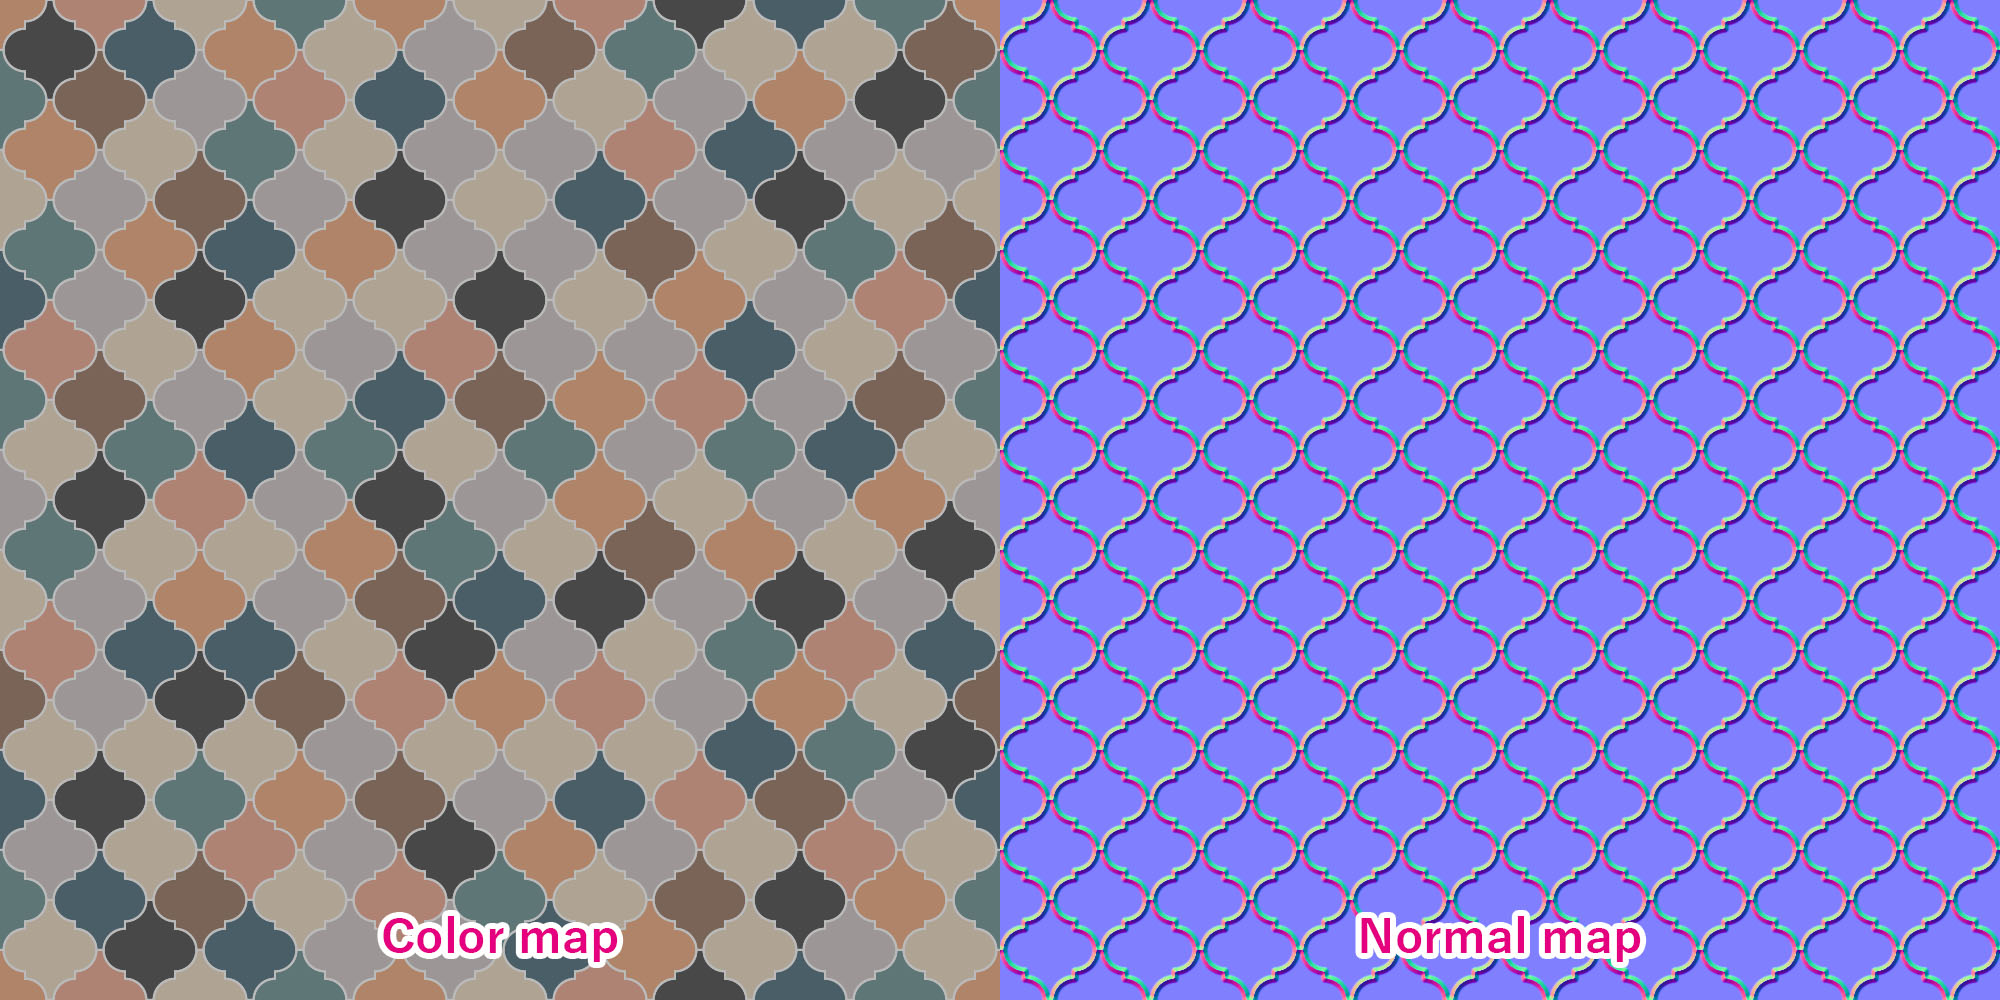
Now we have two textures!
Apply in Twinmotion
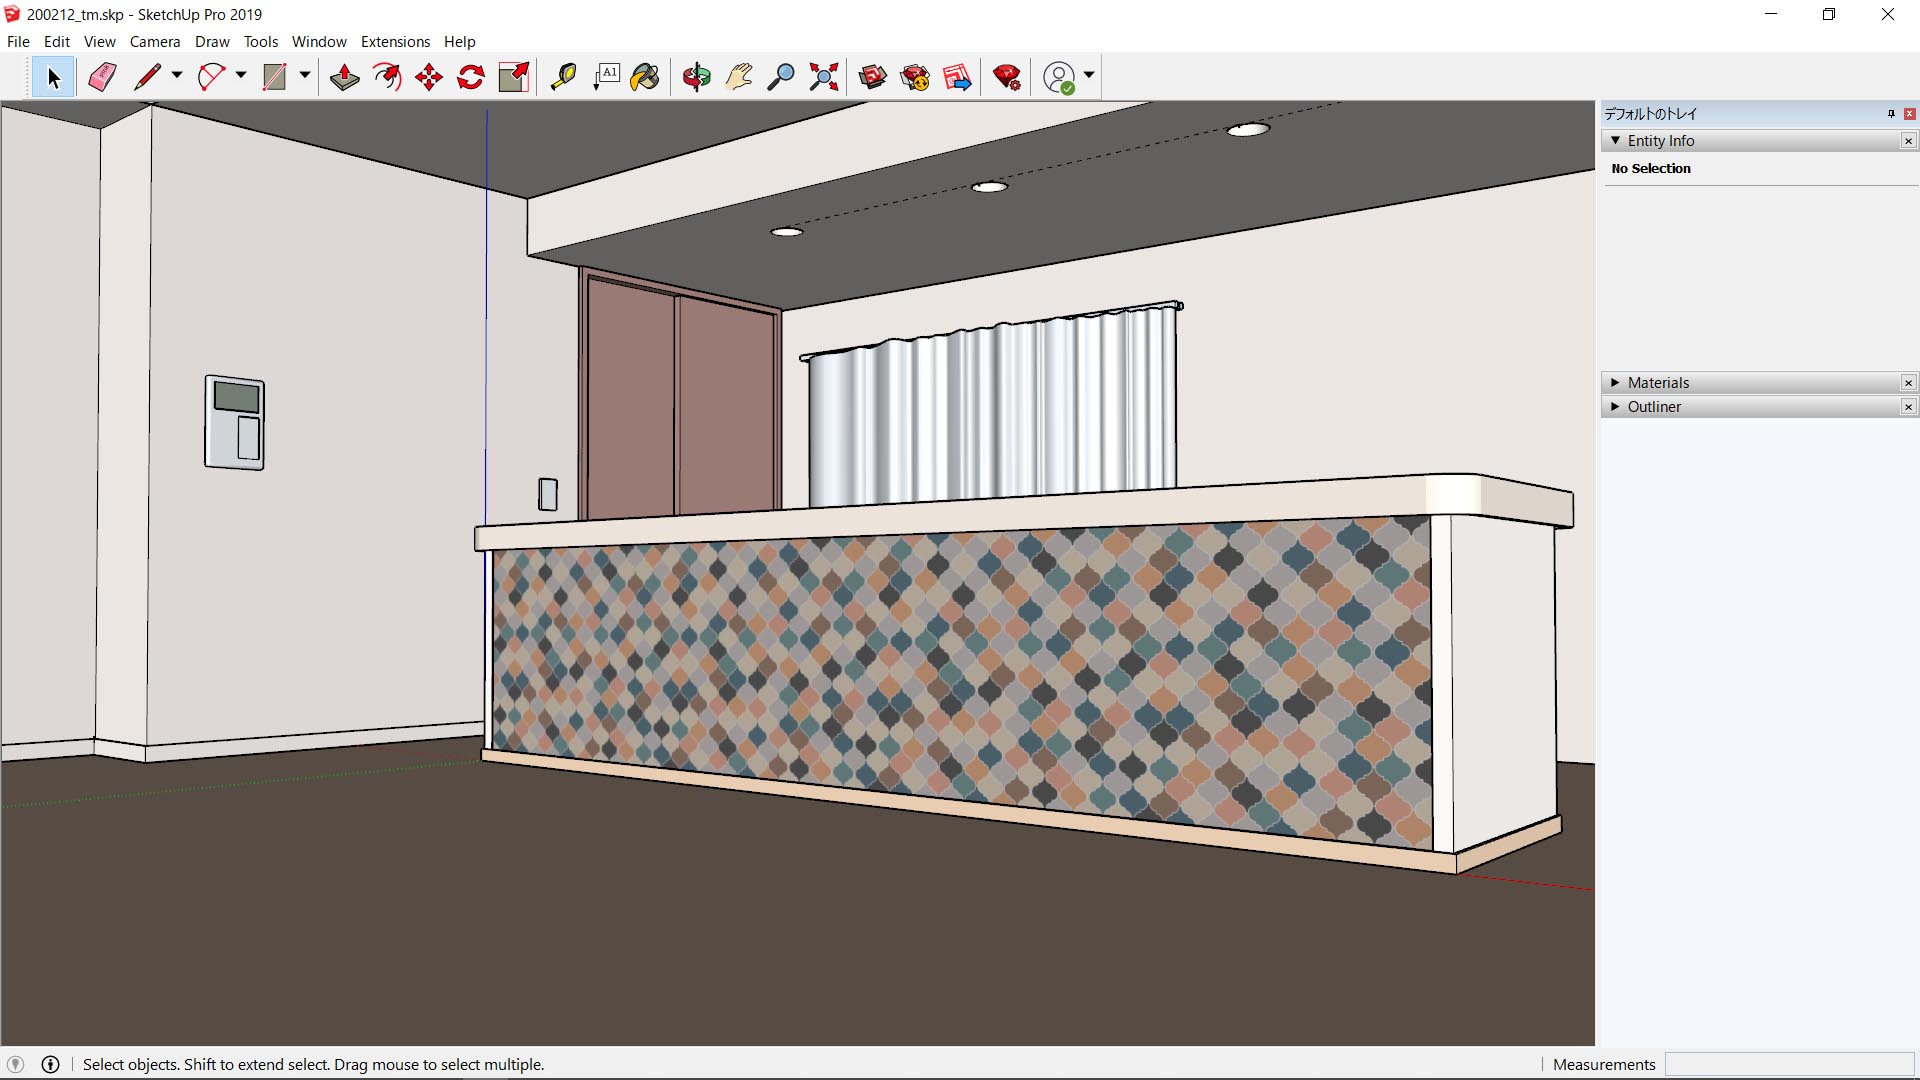
Apply the Color map texture to the tile area in SketchUp or other modeling software and import it into Twinmotion.
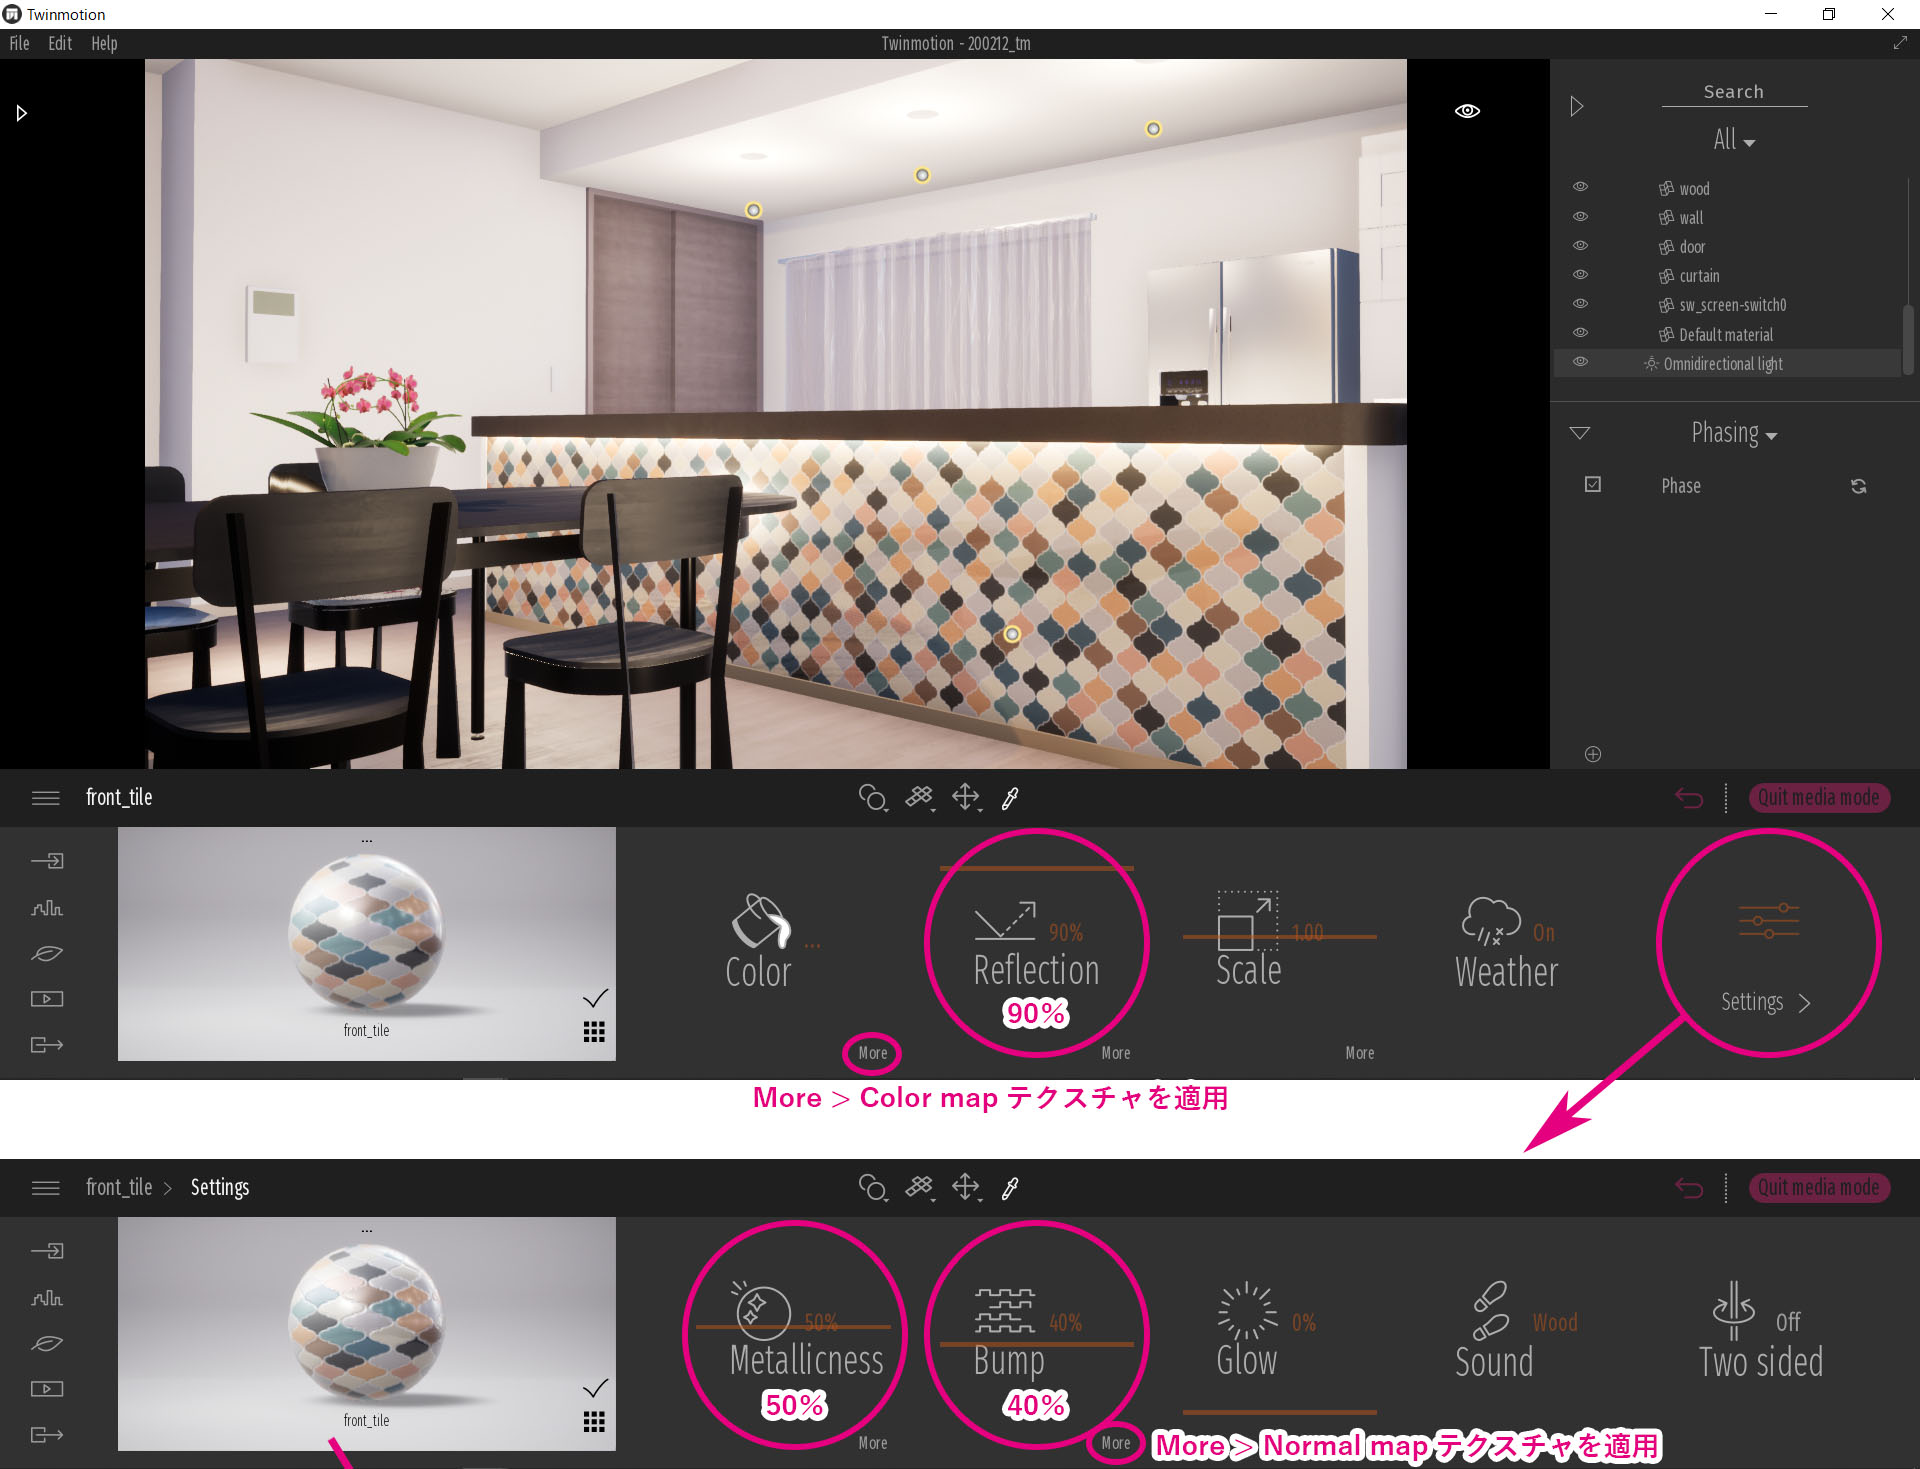
The texture and parameters for the tile material are set as follows: the Color map texture is applied from Color > more, the texture for the Normal map is applied from Bump > more, Reflection : 90%, Metallicness : 50%, and Bump: 40%.
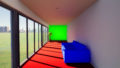
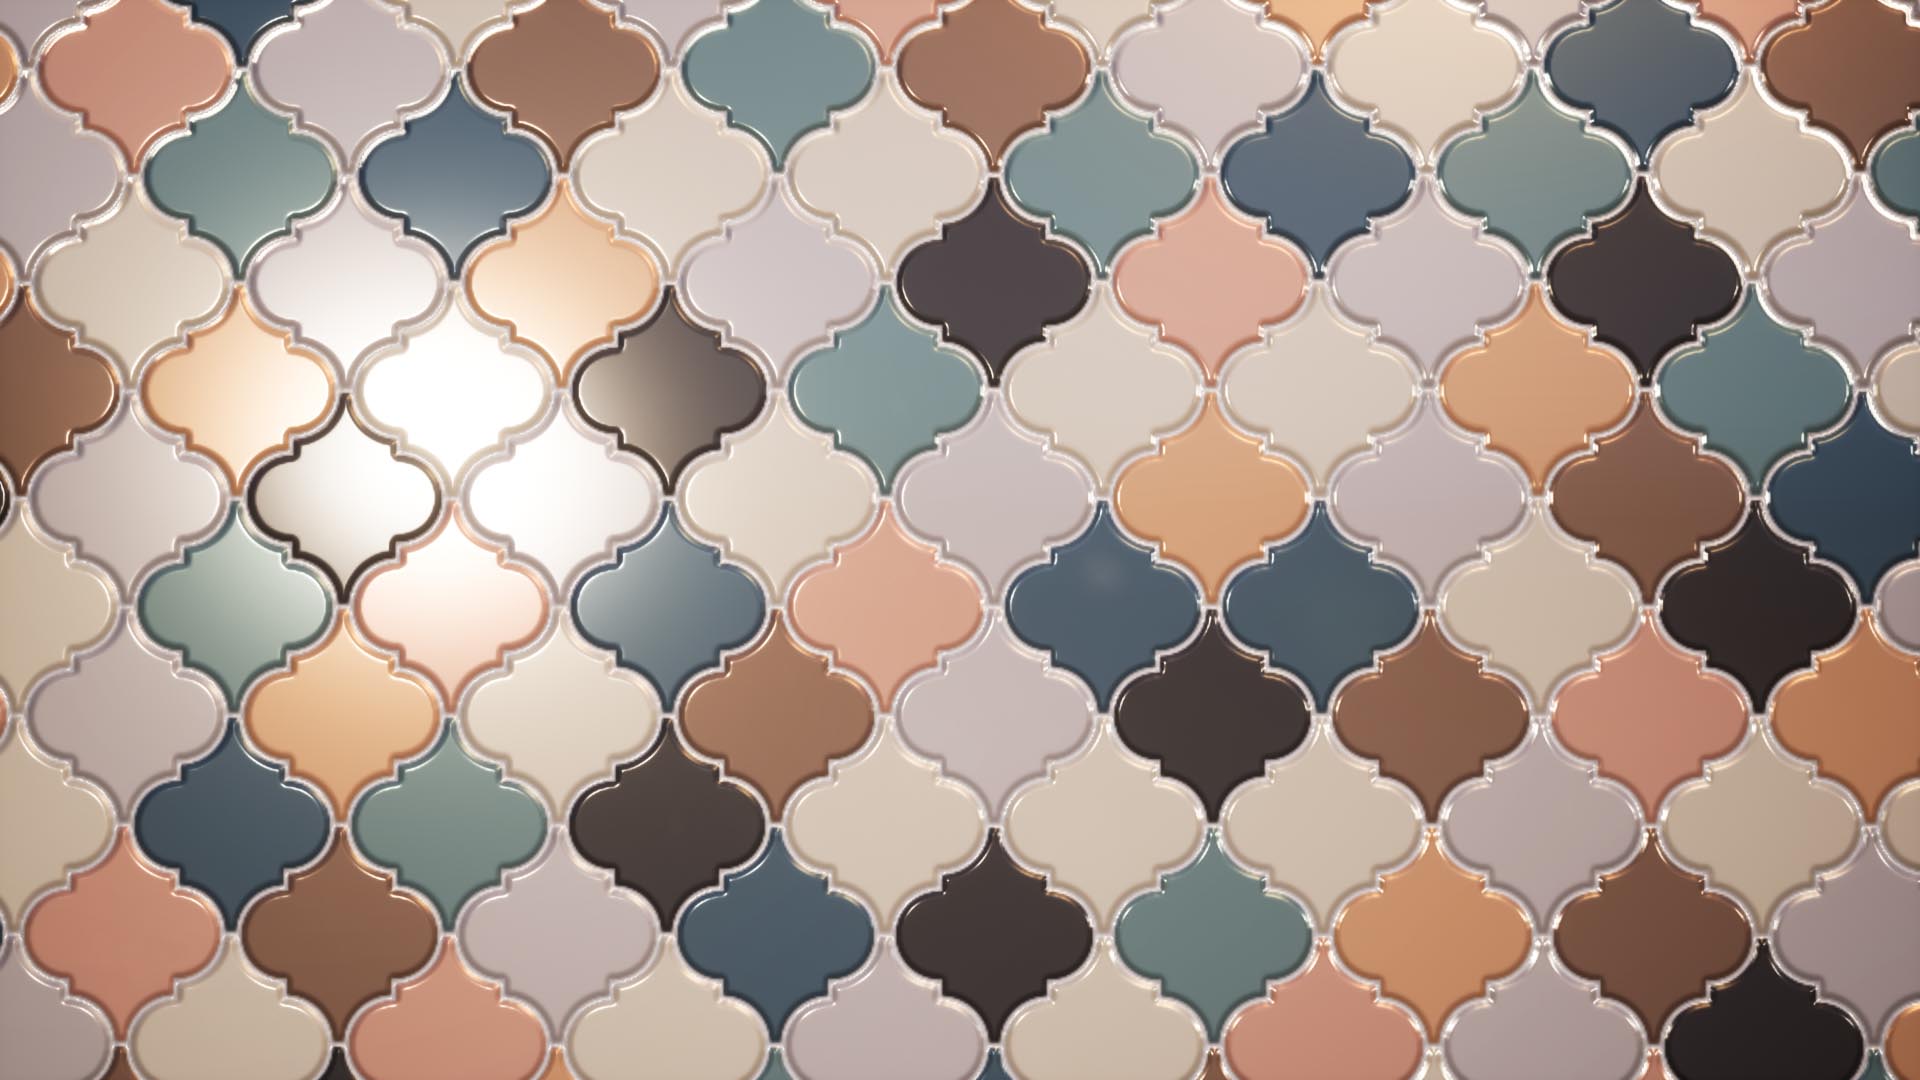
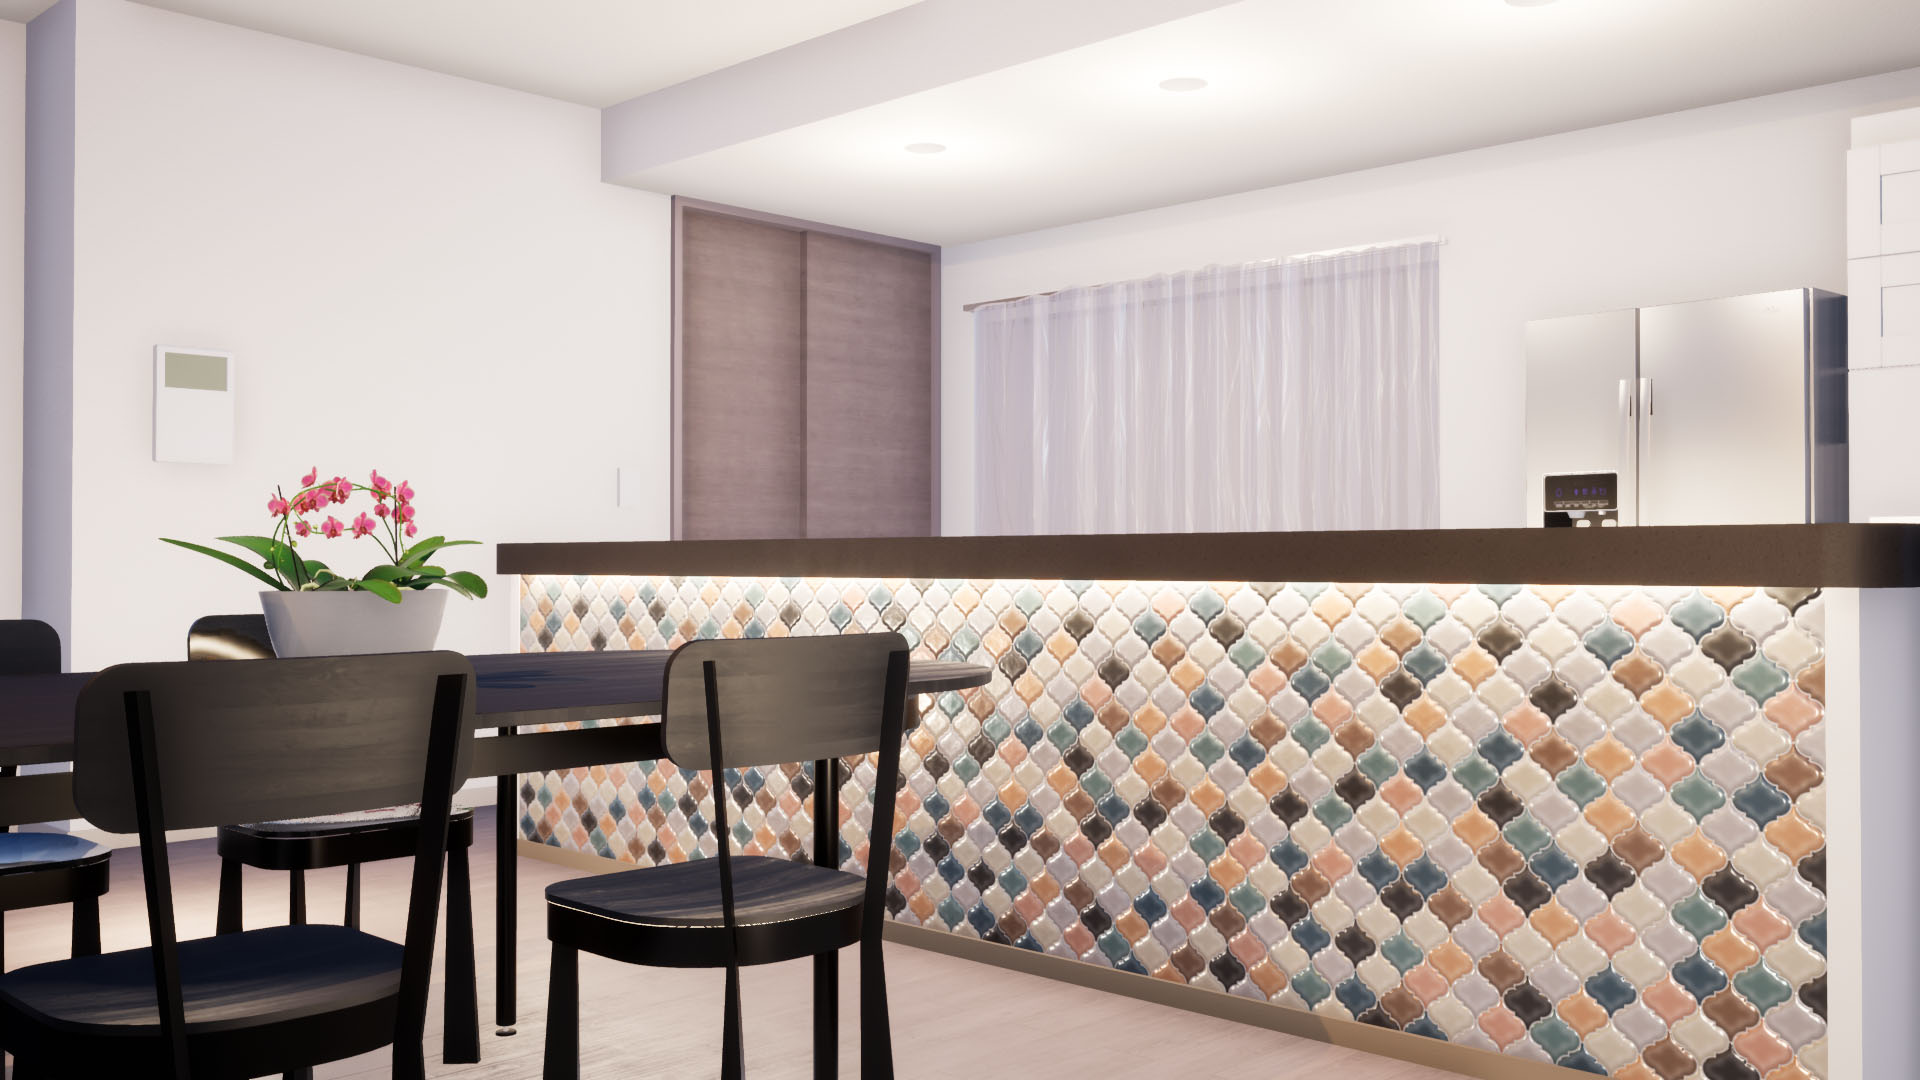
Now you could express the texture of the tiles. However, you may feel dissatisfied with lack of solidity, luster, and depth, so we’ll brush up on the textures below.
Brushing Up on Textures
Go back to the black and white image for the normal map, duplicate the layer in Photoshop, apply filter > blur > gaussian blur to the duplicated layer by about 4px, and set multiply mode to the layers.
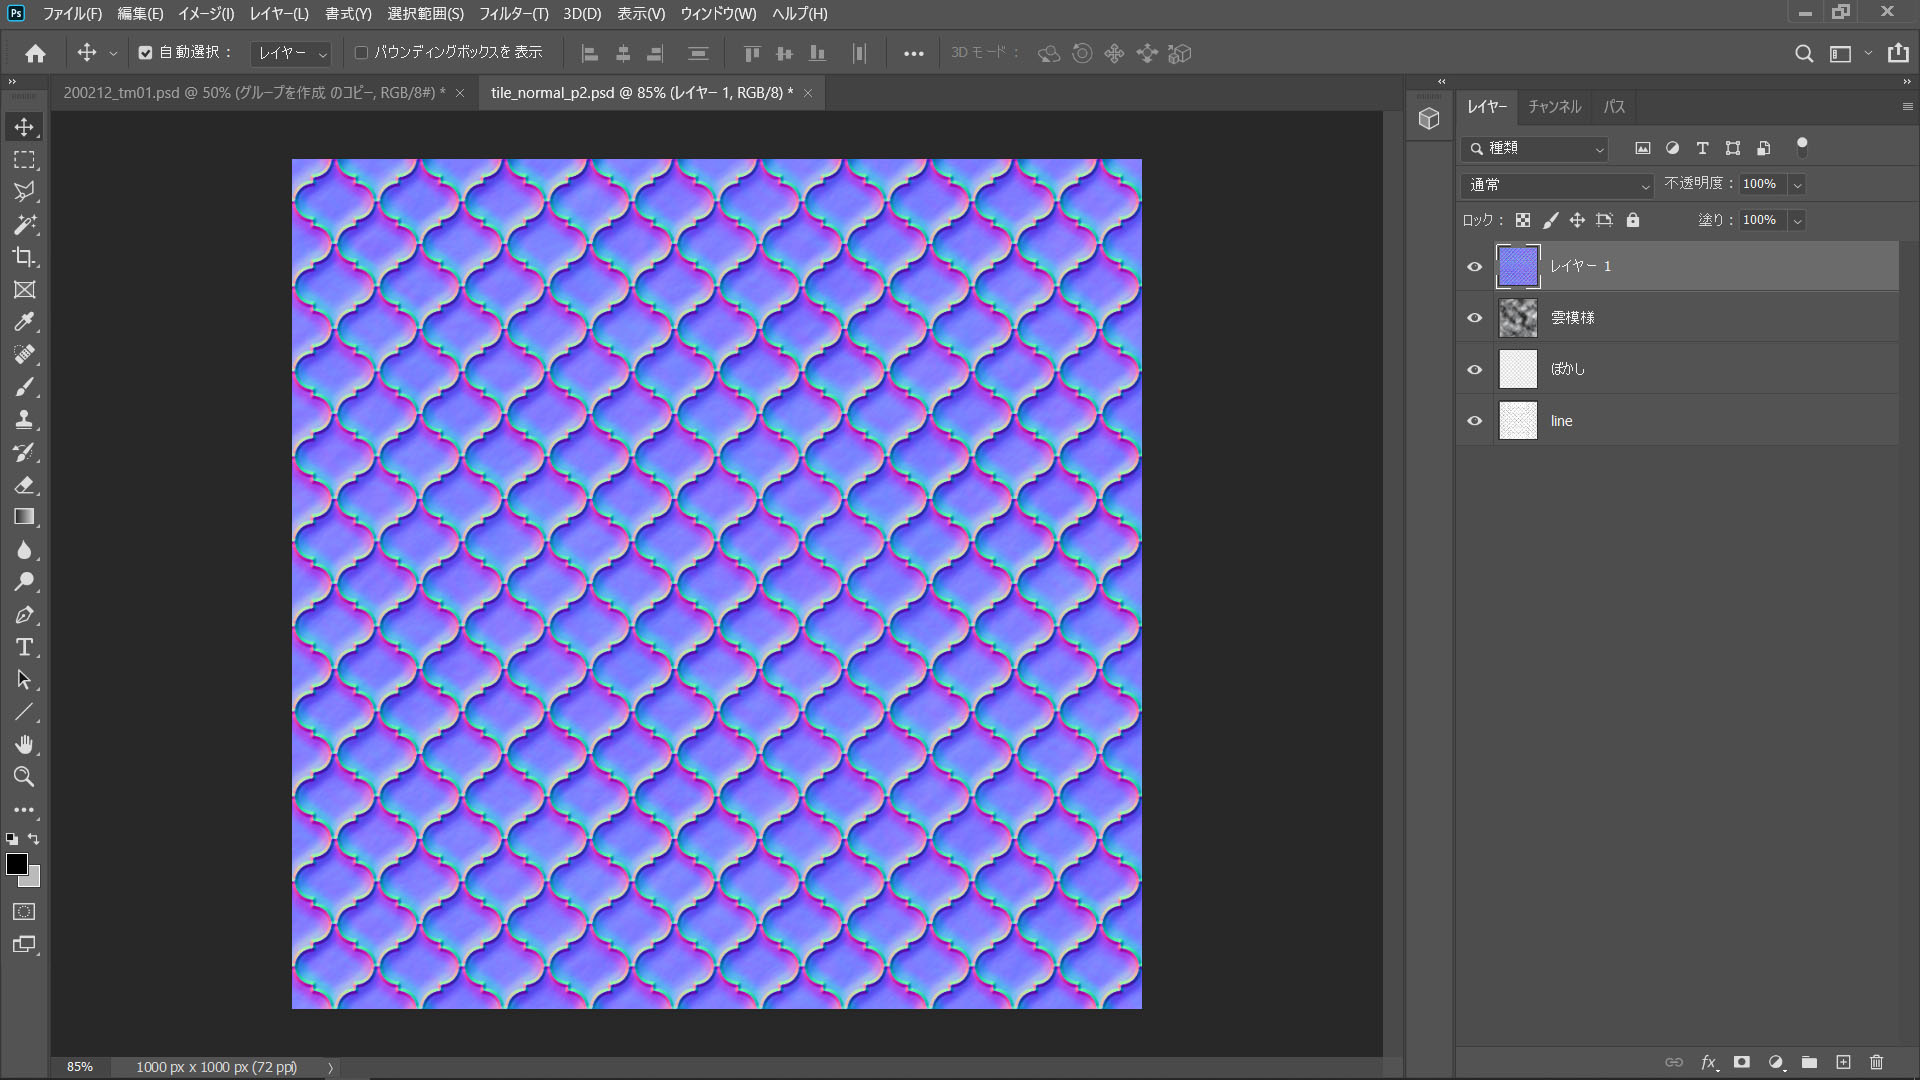
Create a new layer, merge the visible layers (alt+shift+ctrl+E), and generate a normal map by choosing filter > 3D > generate normal map as before.
Replacing the Normal map texture on Twinmotion gave us a more rounded, three-dimensional look. But it’s still too homogeneous, so next time we’ll create a random distortion of the tile surface.
Go back to the black and white image in Photoshop again and create a new layer with filter > render > clouds and overlay it with 20% transparency and multiply mode. Convert this to normal map again and replace the texture.
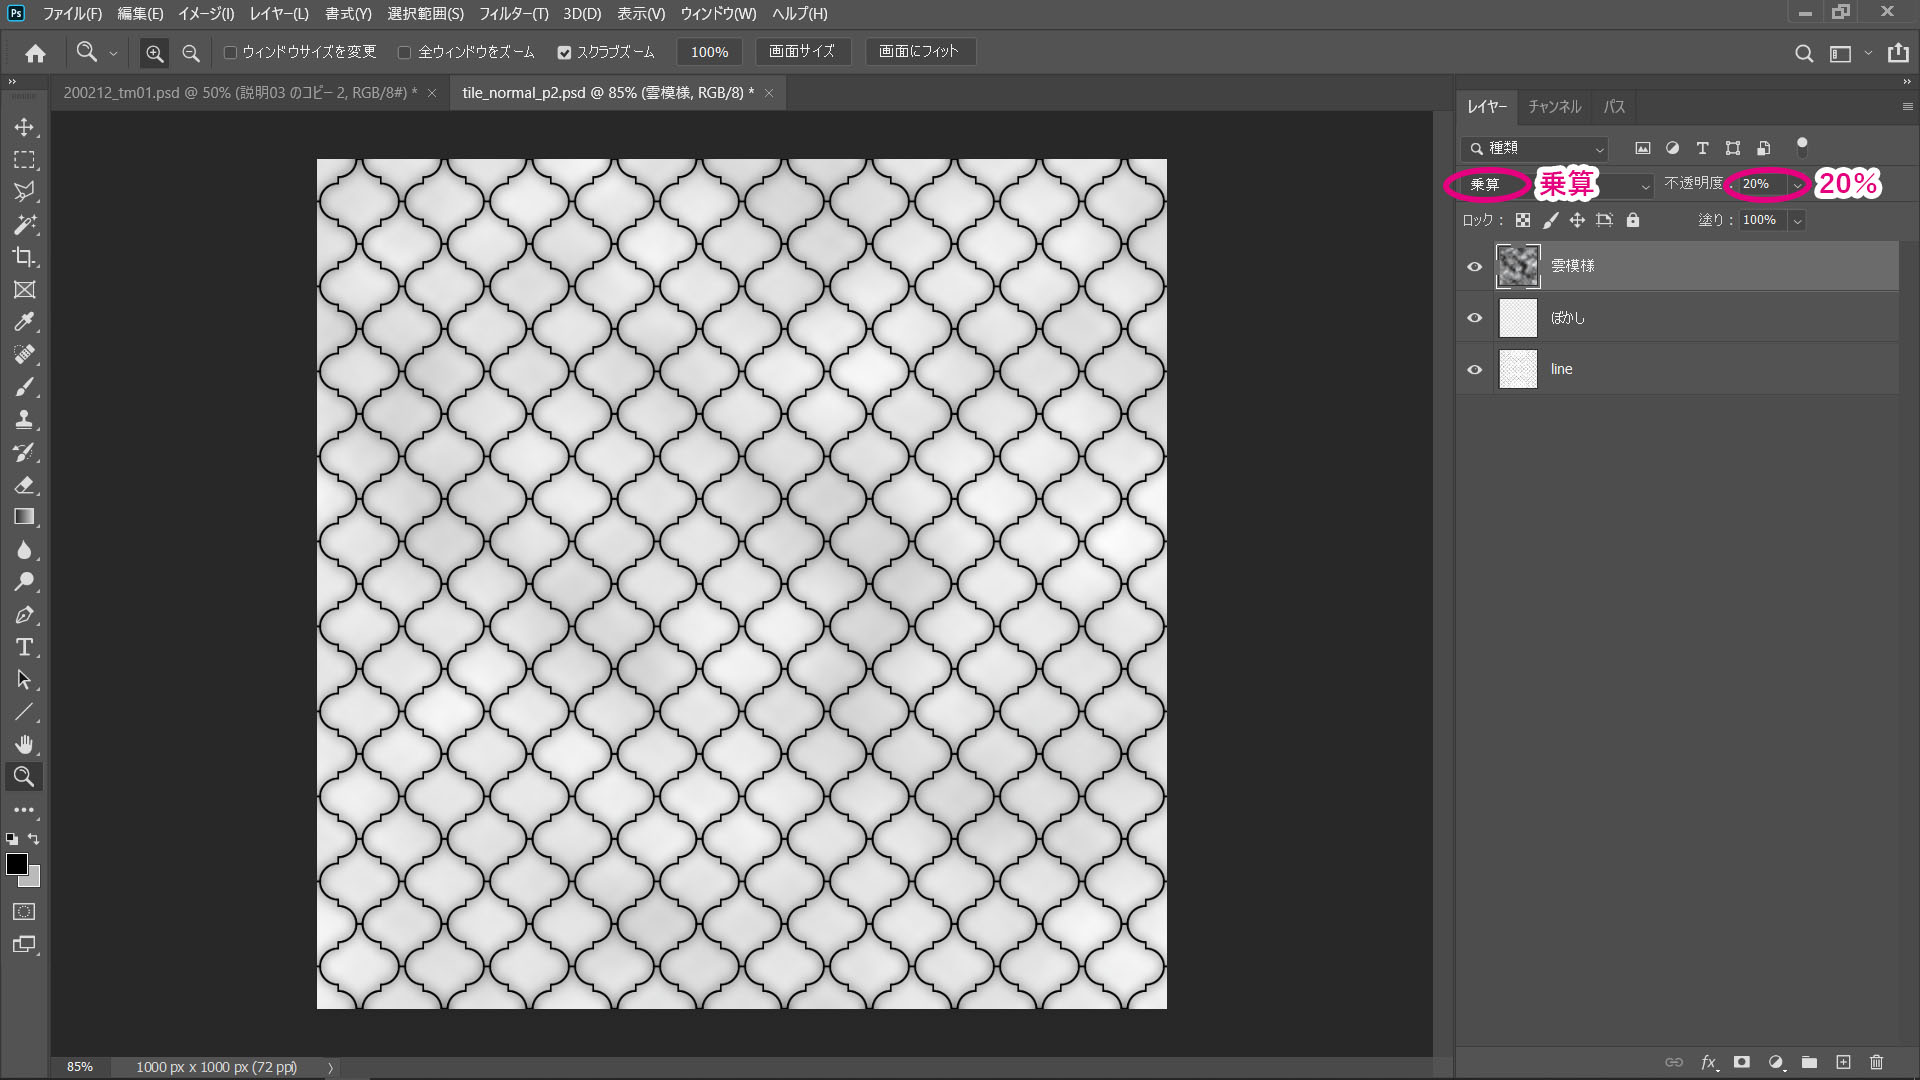
I was able to express fine surface irregularities.
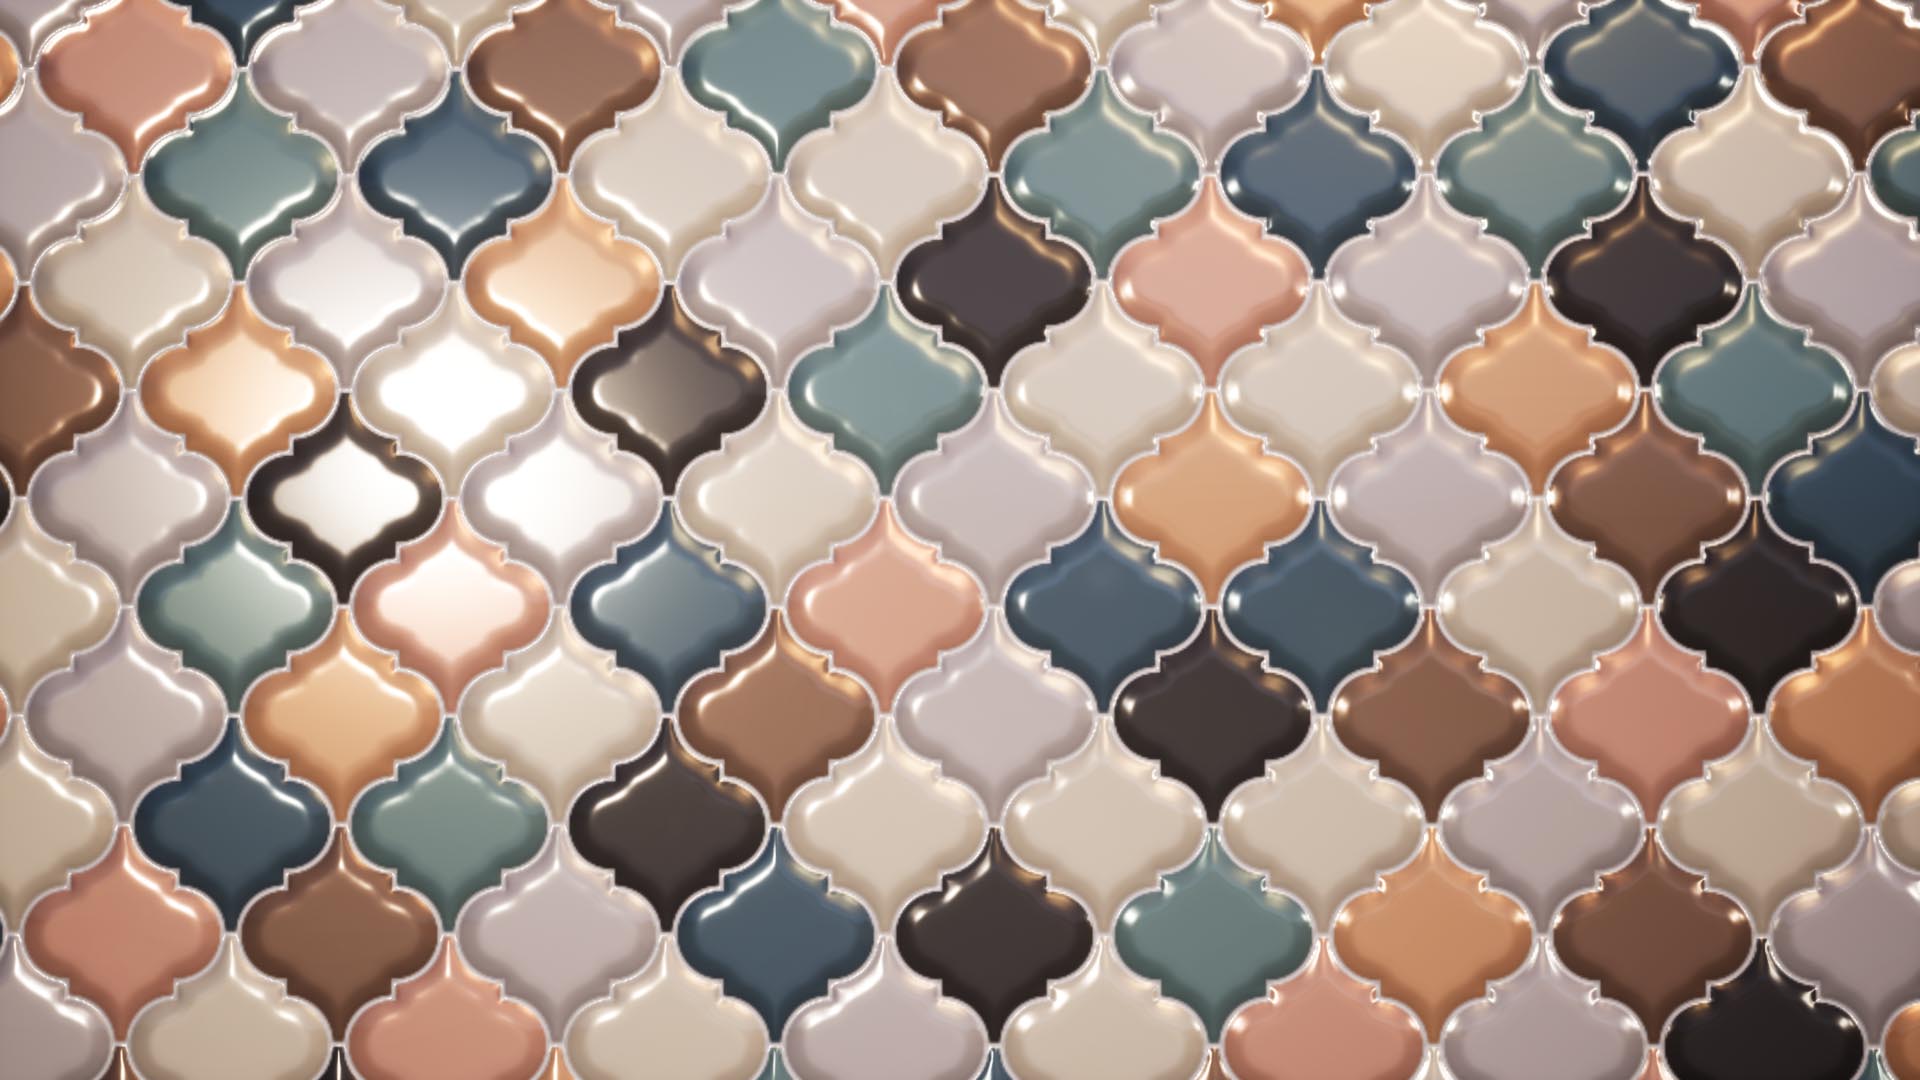
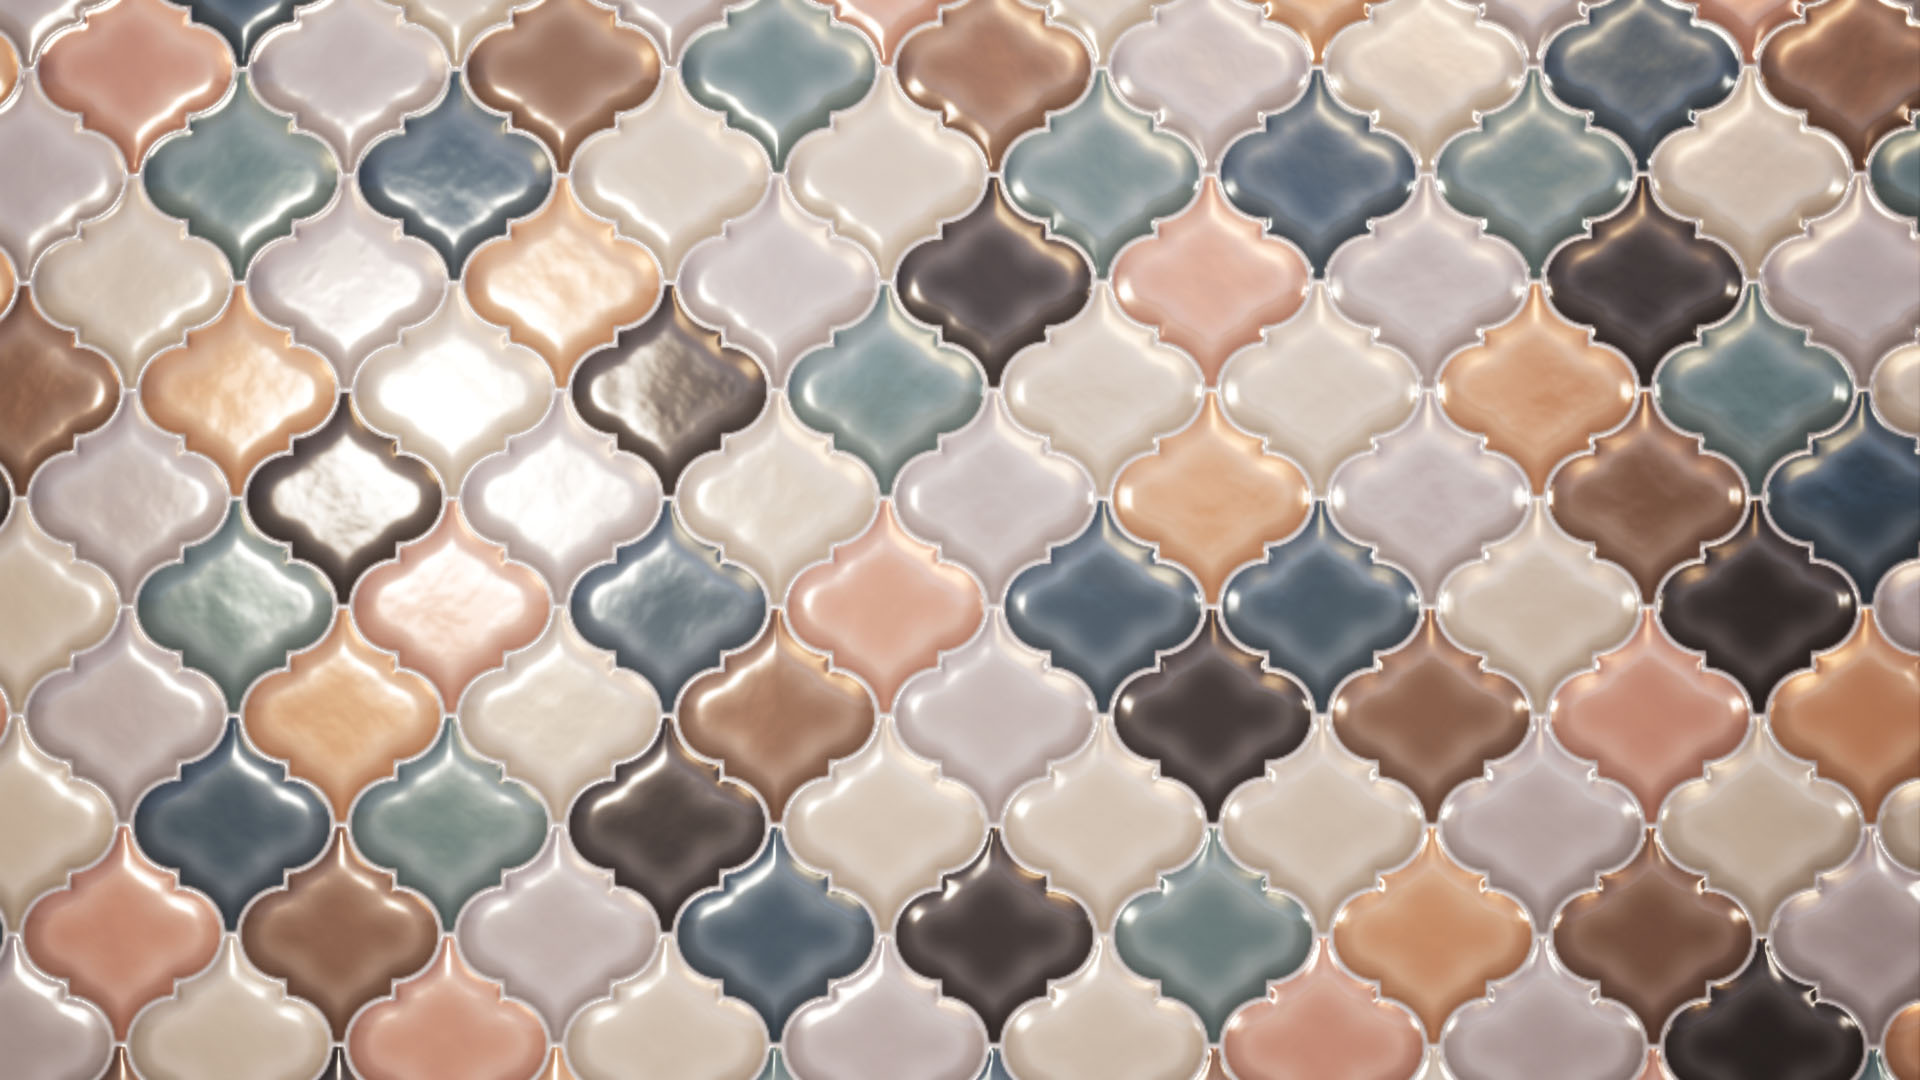
The tiles still lack depth of color, so I modified the Color map texture and replaced it.
It turned out good!
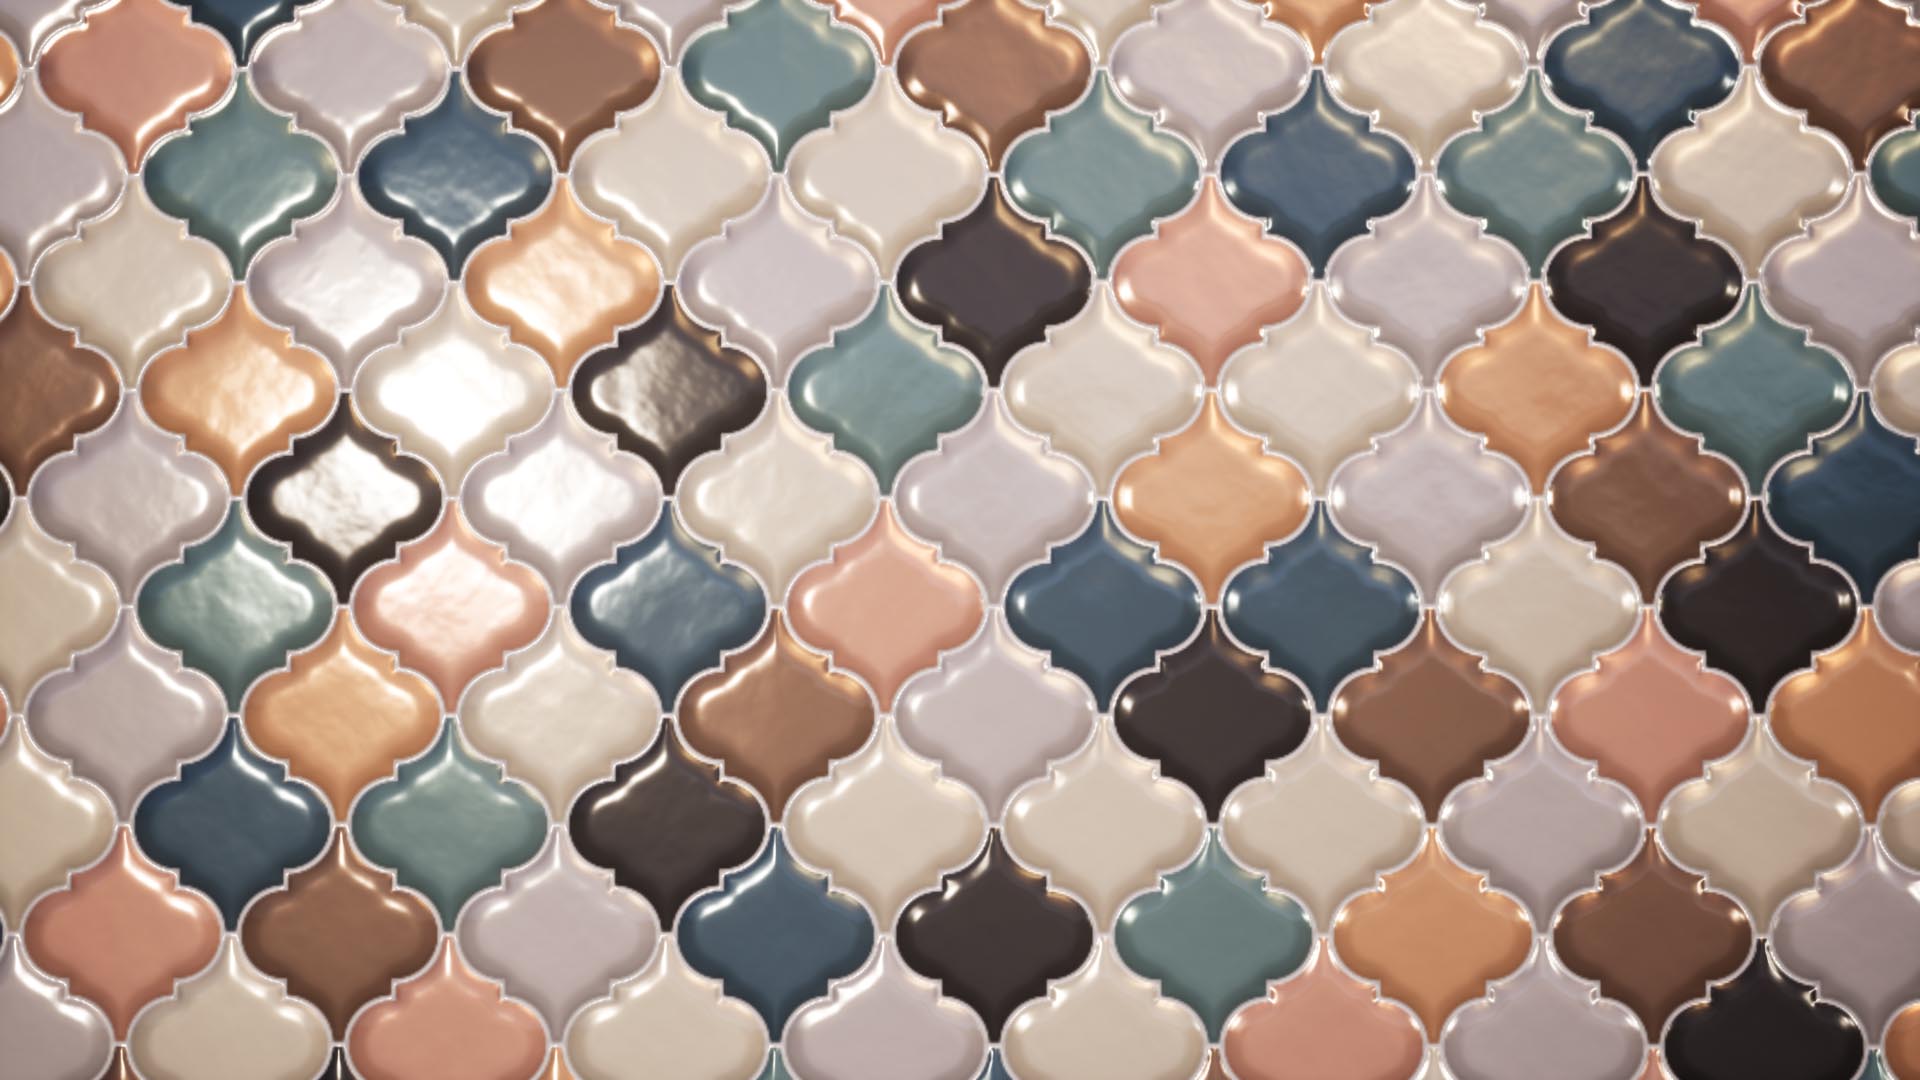
Lighting Adjustments
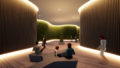
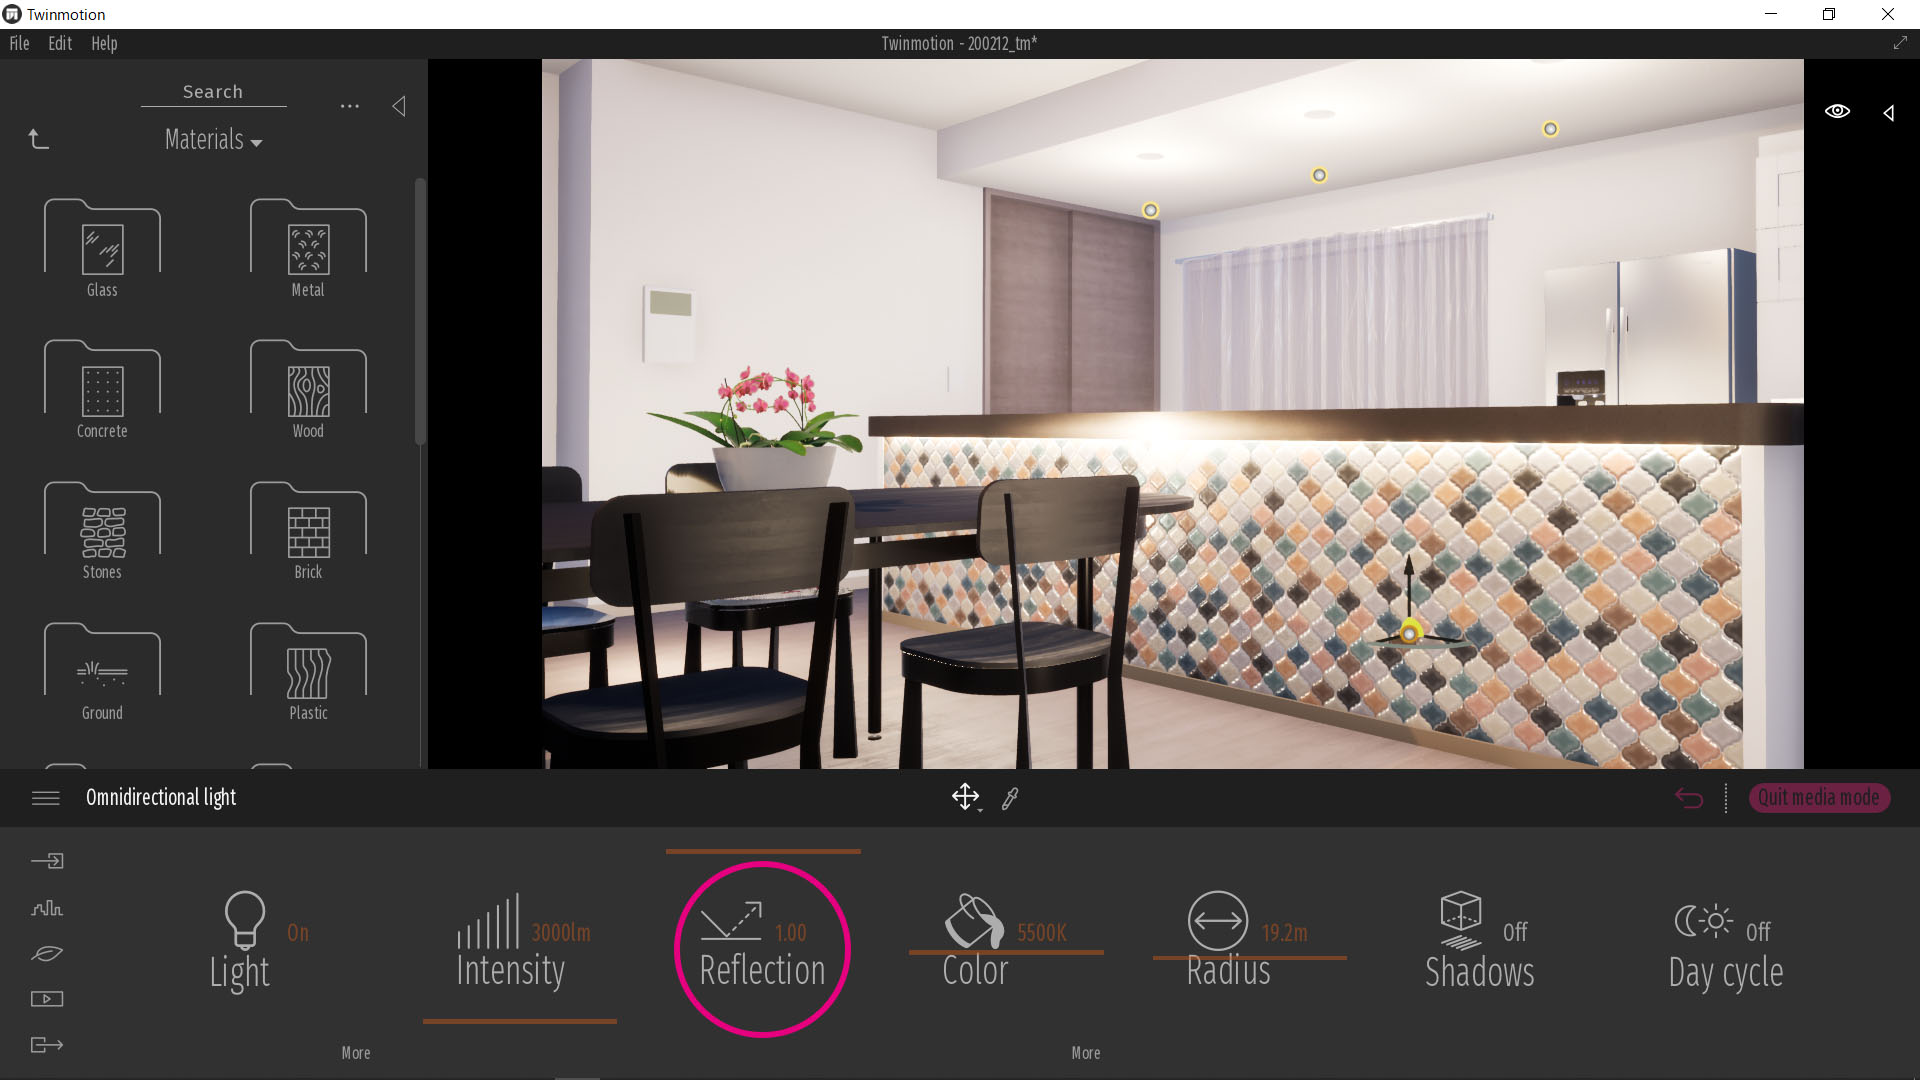
Finally, it’s not just textures that are important for texture, but also lighting. Try adding more lights, adjusting the reflection parameter of the light until you get a good look!
That’s all, thank you.